UNSTILL works best when you treat the first project like a calibration pass. Use it to learn which input photos, models, poses, and backgrounds fit your brand before you scale the workflow across the full catalog.
What UNSTILL is built to do
UNSTILL is designed for fashion teams that need more output from the product photos they already have. Instead of rebuilding every launch around a studio shoot, the app lets you upload existing apparel imagery, choose an AI model direction, control the pose when needed, pick a background direction, and generate new commerce ready assets.
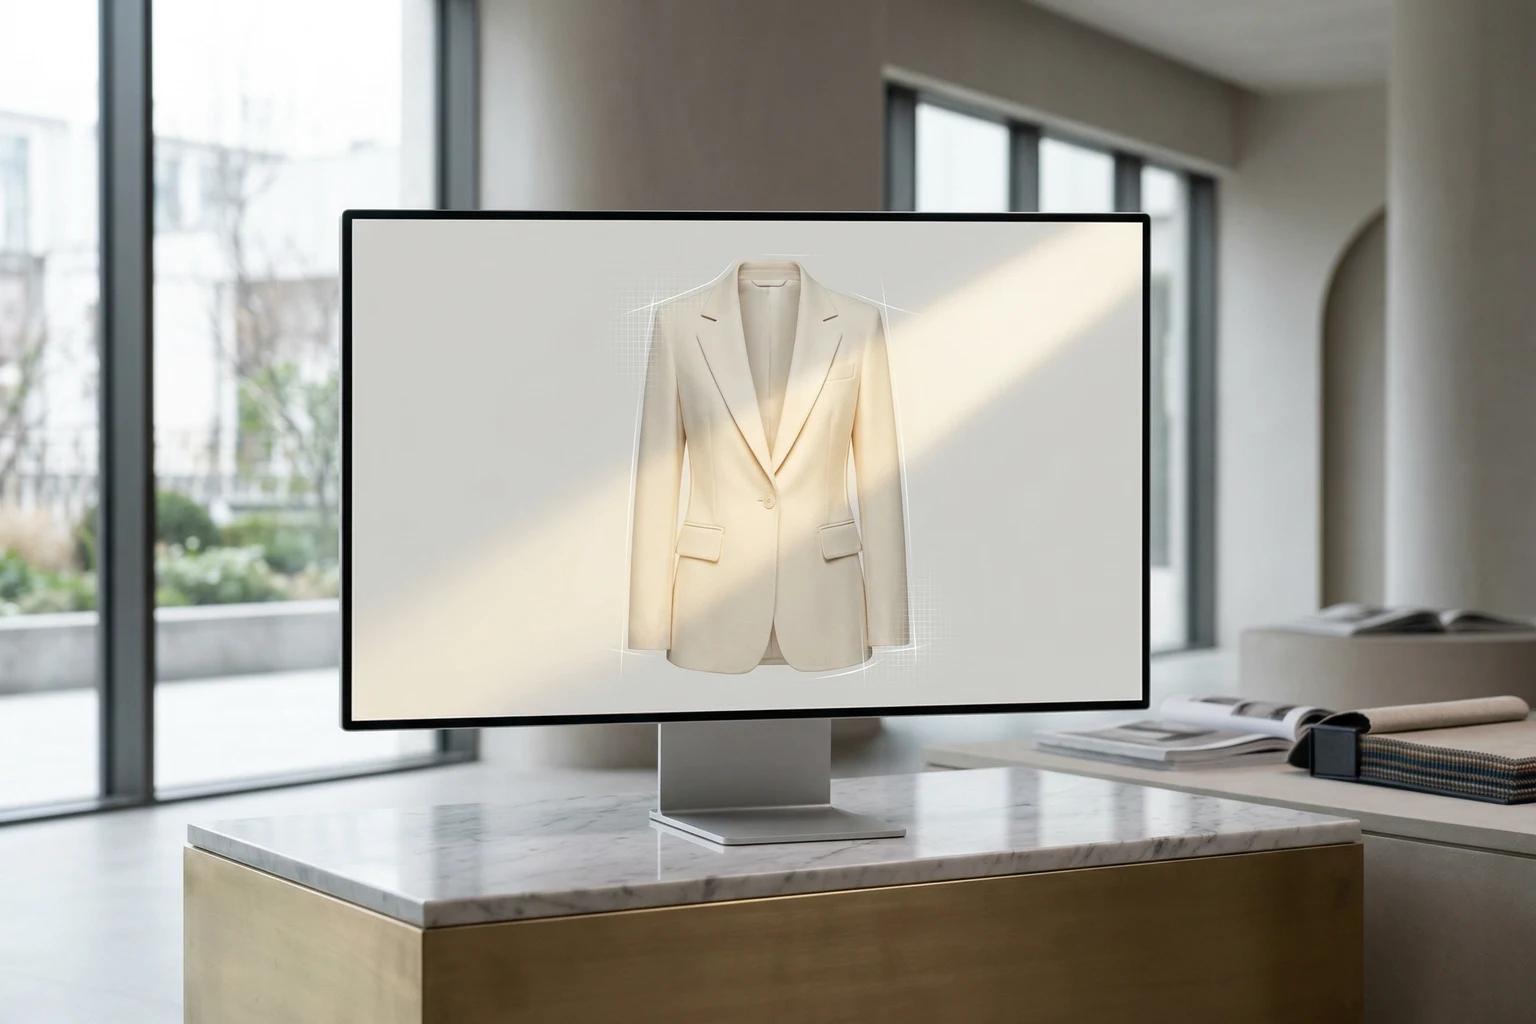
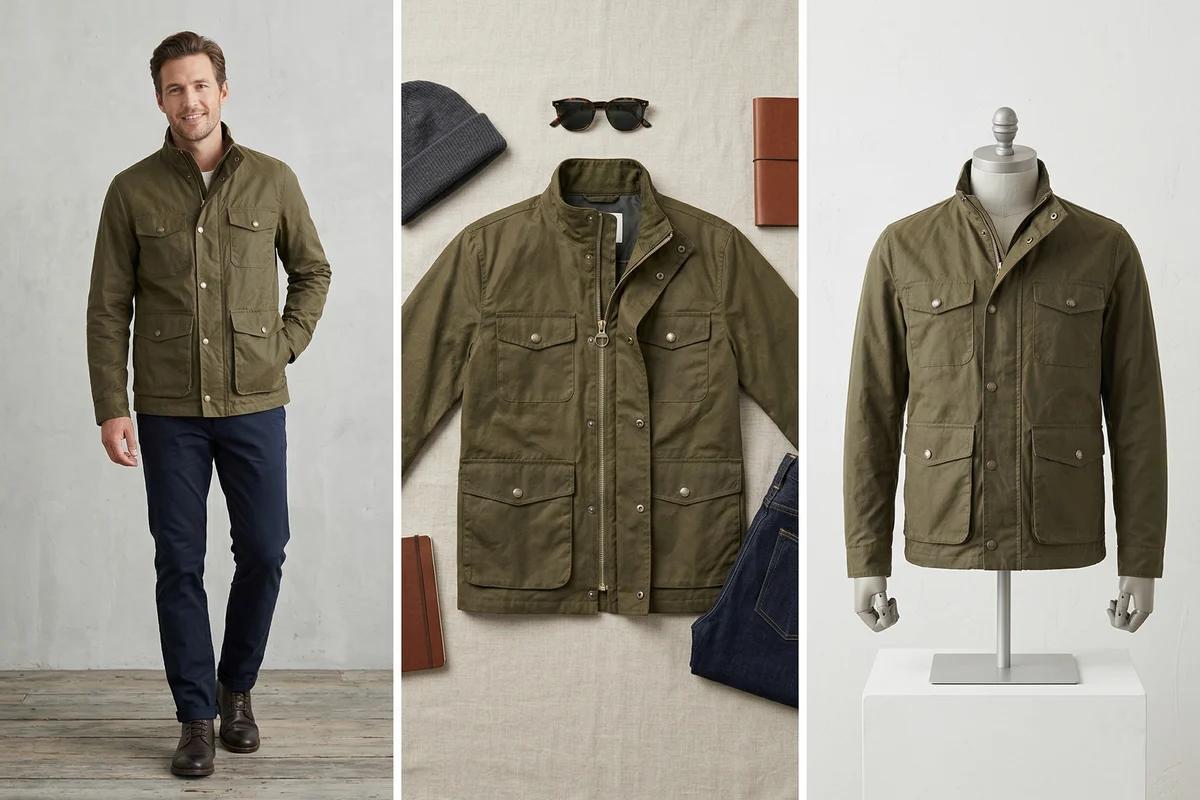
The product currently supports three starting points. You can begin with an on model image when you want to change the person wearing the garment. You can begin with a flat lay image when the product is photographed from above. You can also begin with mannequin photography when the garment is already dressed and front facing. Those three inputs map to slightly different workflows inside the app, so the first guide to success is choosing the right project type before you upload anything.
What to do before your first session
Before you open the create flow, gather one small batch of products that are easy to judge. Pick items with clear silhouettes, visible hems, readable sleeves, and uncomplicated styling. A clean knit, dress, shirt, or set usually gives you a better first run than heavily layered looks or products with extreme transparency. The goal is not to prove that the app can rescue every difficult garment on day one. The goal is to learn how your brand looks inside the system.
It also helps to decide what success means before you spend credits. Some teams want a new PDP hero image. Others want broader model coverage, social assets, or faster launch support for replenishment products. If you know which job the image has to do, your choices inside the flow get easier.
Step 1: Start with the right account state
UNSTILL gives new users 10 trial credits. That is enough to run a small but useful first test. Guests can explore the flow, but when you hit generate the product prompts you to register so the work can be tied to an account instead of a temporary session.
If you are testing with a team, decide early who owns the first account and where projects will be reviewed. The app includes plan based limits and feature differences, so it is worth matching the test to the kind of output you actually need. If your team already knows it will want higher resolution exports, broader model access, or white glove review features, keep that in mind when you evaluate the first trial images.
Step 2: Choose the project type that matches your source photo
The create flow starts with a type decision, and it matters because the rest of the steps change based on that choice.
If you choose on model, the app expects existing images of a person wearing the garment. This route is useful when you want new model variety or want to expand representation across an existing catalog while keeping the basic product styling and framing logic.
If you choose flat lay, the app expects garments photographed from above, cleanly arranged, and clearly visible. In this path you will later choose both models and poses because the system is building the on body presentation from a non human reference.
If you choose mannequin, the flow is similar to flat lay, but the source image already contains a garment shaped on a body form. That can be useful when you need structure preserved, especially for tops, dresses, or tailored pieces that were already merchandised on mannequins.
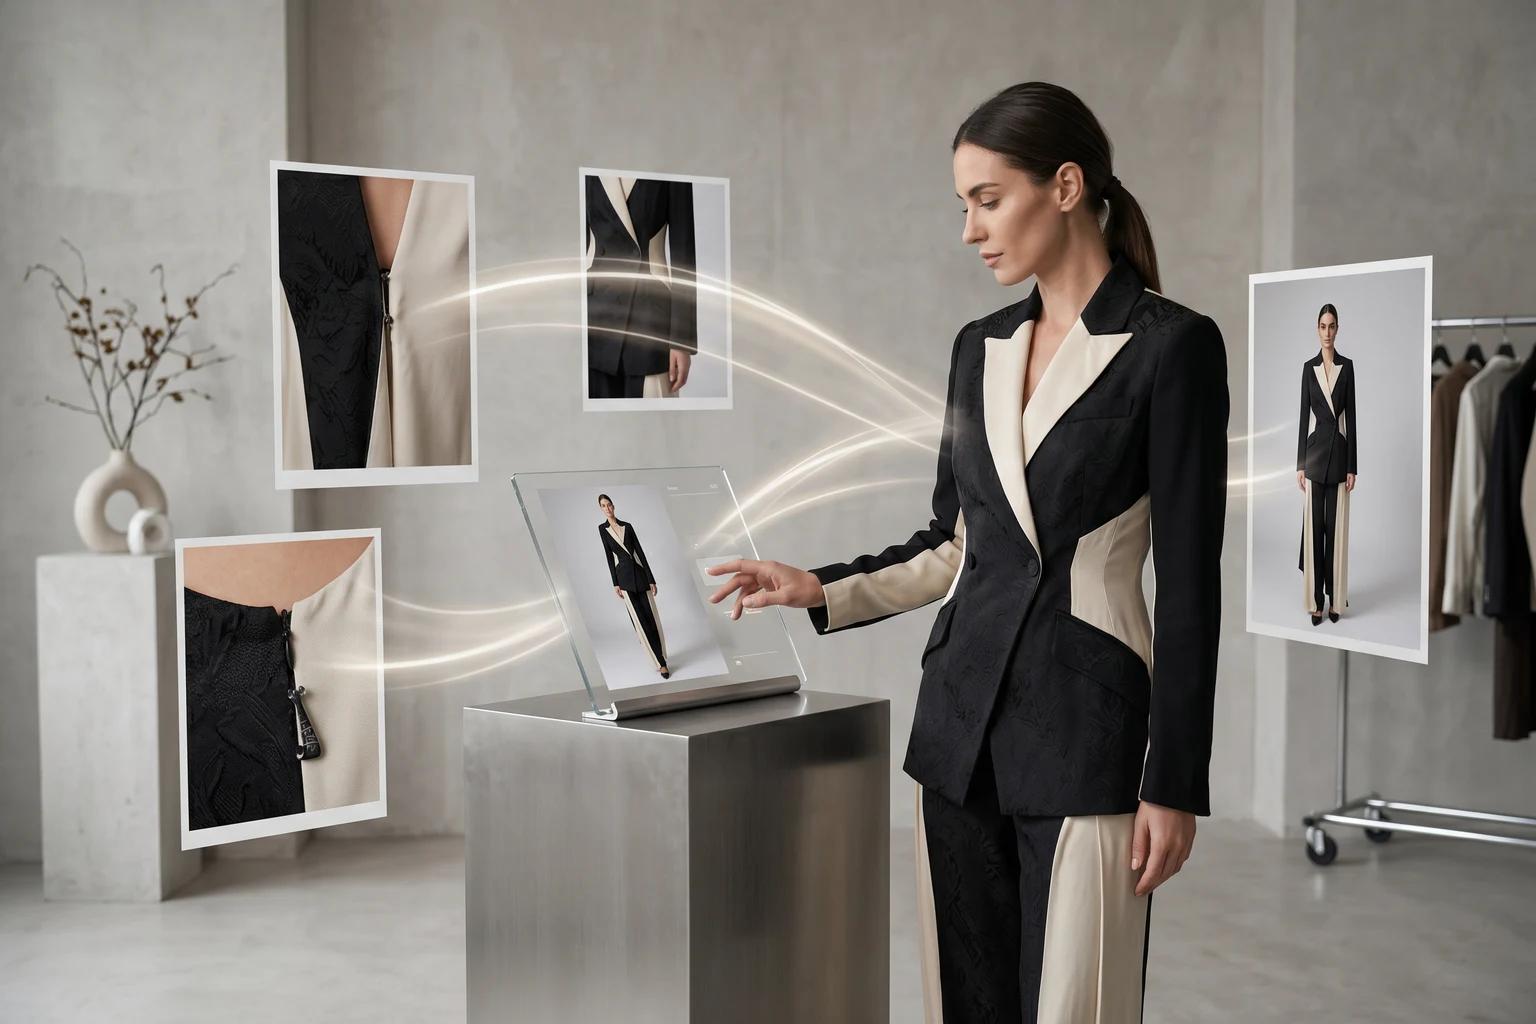
Step 3: Upload product photos that are easy for the system to read
The upload step is where quality is won or lost. UNSTILL’s own guidance sidebar is blunt about what works. For on model inputs, full body or medium shots work well, clear faces are acceptable, headless crops can work, and complex but readable poses are possible. Covered faces, group shots, accessories standing in for full garments, and poor lighting create trouble quickly.
For flat lay and mannequin inputs, the best source image is front facing, cleanly lit, wrinkle controlled, and visually simple. Angled shots, harsh shadows, cluttered backgrounds, and heavily folded sleeves make the garment harder to interpret. If you are uploading a two piece outfit, make sure each piece reads clearly rather than blending into the background or overlapping in a messy way.
If you only remember one rule, remember this: the app can do a lot with ordinary product photography, but it still needs a readable garment. Clean input beats clever input almost every time. If you are unsure whether a file is strong enough, how to prepare product photos for the best UNSTILL results is the right checklist before you spend credits.
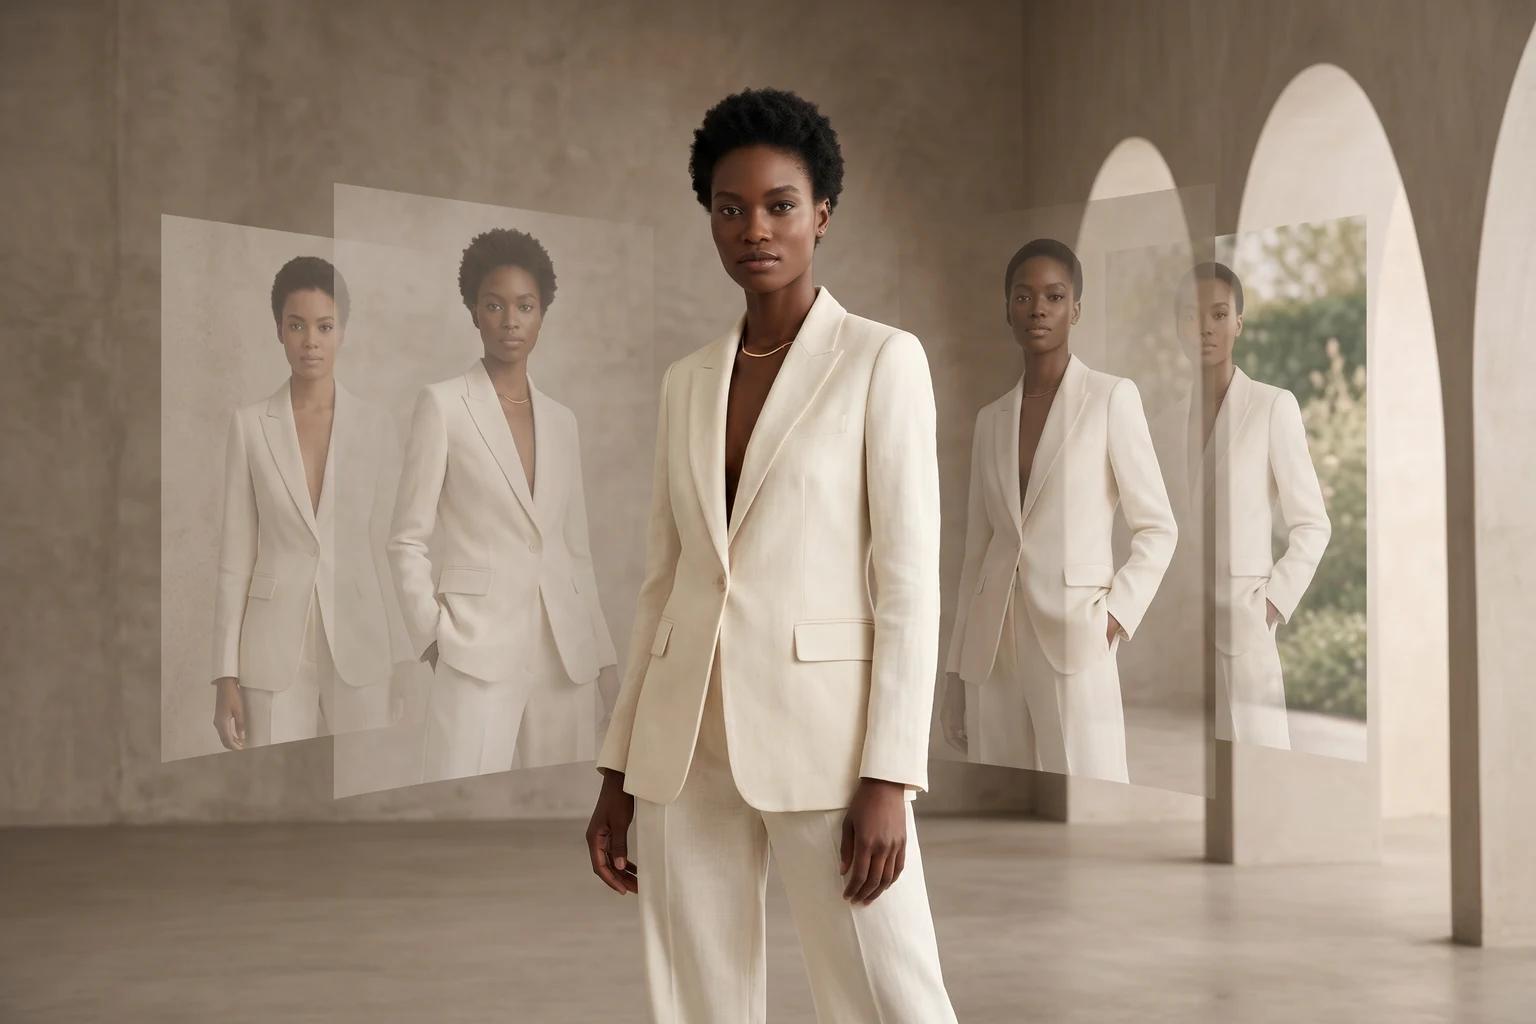
Step 4: Pick models with intent, not curiosity
UNSTILL lets you select up to four models. That is powerful, but it can also lead to waste if you choose four unrelated options just because they look interesting in the gallery. A better approach is to treat model selection like merchandising.
Ask which audience you need to represent. Ask whether the product is better served by consistency or by variety. Ask whether the page needs one strong primary option or a broader range of styling contexts. The app includes filters for gender, age group, hair color, ethnicity, and supported sizes. Use them to narrow the gallery to people who fit the product and the audience, not just the mood of the moment.
The best early tests usually compare two to four models who still belong to the same brand world. That gives you meaningful variation without making the outputs feel disconnected.
Step 5: Add poses only when the project type needs them
Flat lay and mannequin projects include a pose step. On model projects do not, because the source image already carries pose and framing information. In the pose picker you can choose up to four options, and the available poses respond to the gender mix of your selected models.
This is where a lot of teams overshoot. They pick a dramatic pose because it looks memorable in isolation, then discover it is wrong for the garment, the product page, or the campaign. Start with poses that show fit clearly. A straightforward stance, an easy walk, or a natural half turn usually teaches you more than a high concept movement choice.
Pose is not just styling. Pose determines what the customer can actually understand about sleeve length, rise, drape, and proportion. Choose accordingly.
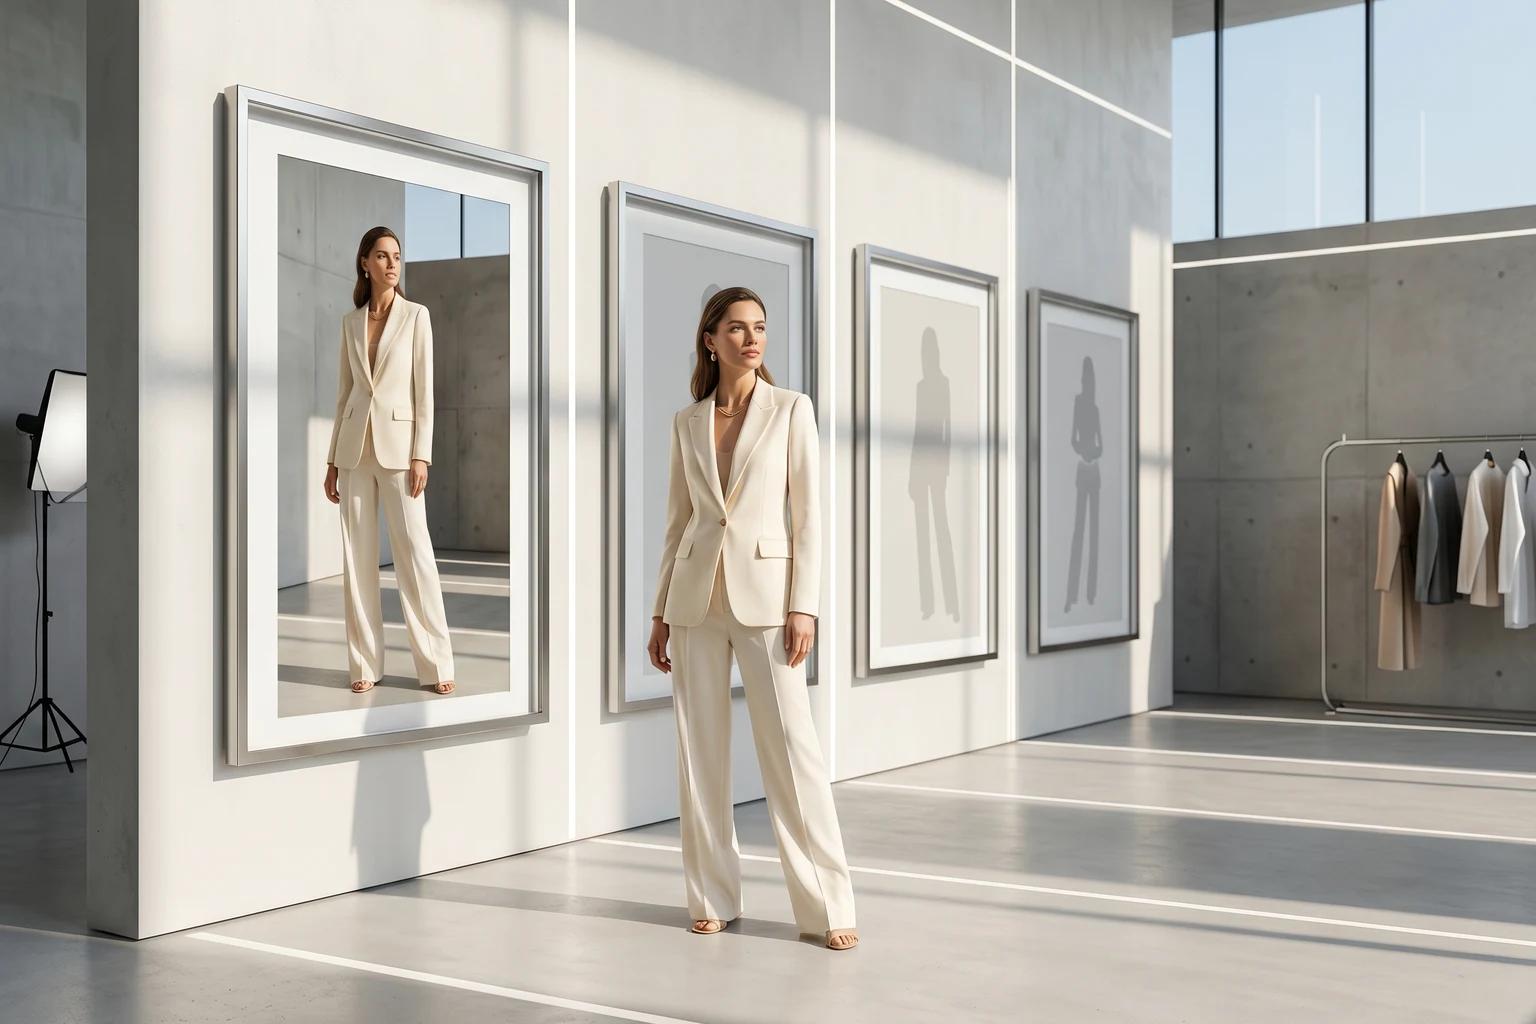
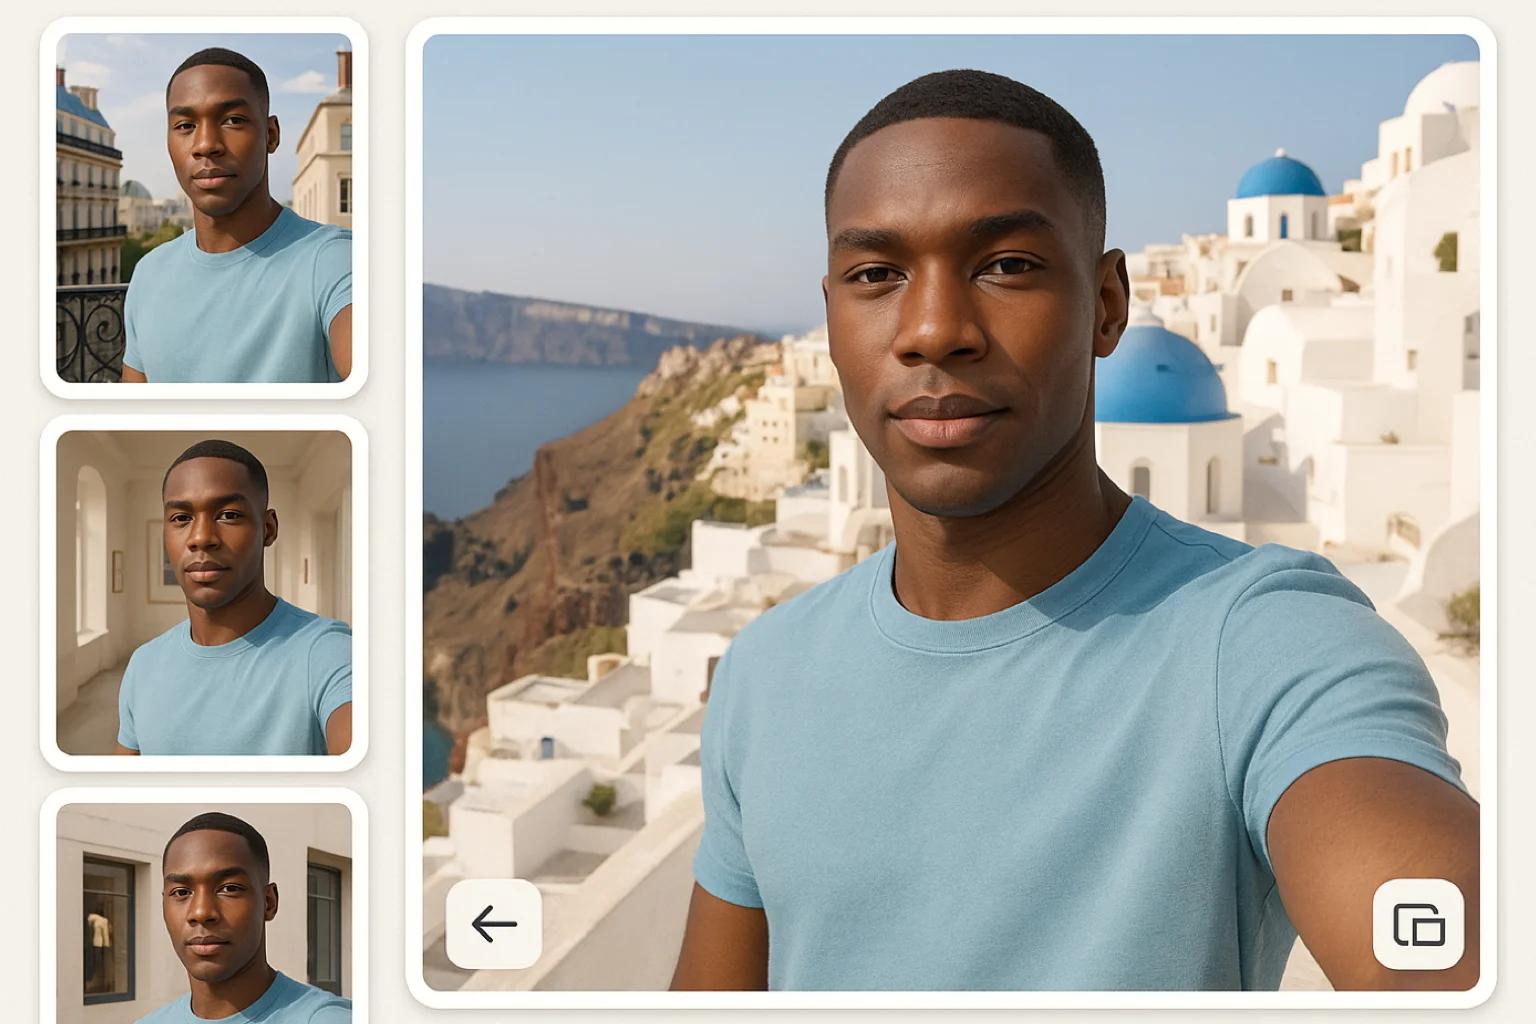
Step 6: Choose a background that supports the product
The background step offers both scenes and backdrops. If you are in an on model project and your original product image already contains a useful environment, the app can also preserve that original background. That option is useful when the existing setting already supports the garment and you mainly want a new model direction.
Think of the background as a merchandising tool, not a decoration layer. A simple backdrop is often the better choice for PDP clarity. A scene can make sense when the output is headed to social, email, or campaign creative. If you are unsure, generate the clean version first. It is easier to move from clear to expressive than the other way around. Once you have the basics working, how to choose models, poses, and backgrounds that fit your brand in UNSTILL helps turn those one-off decisions into a repeatable system.
Step 7: Review the summary before you spend credits
The summary step is more than a confirmation screen. It shows the selected products, models, poses, background, project name, aspect ratio, and expected image count. That matters because credits are tied to the number of outputs you request.
Take a minute here. Confirm that the aspect ratio matches the destination channel. Confirm that the project name is specific enough that your team will understand it later. Confirm that the selected combinations actually answer a business question. If you are testing which model works best for one garment, do not accidentally spend credits on four models and four poses when two outputs would have answered the question just as well.
Good teams save more credits in the summary step than they do anywhere else in the product.
What happens after generation
Once a project is queued, UNSTILL tracks progress and updates the project view as results come in. From there you can review generated images, retry weak outputs, generate more variants, and in the right plan tiers request higher quality generation. The project page is where the workflow becomes operational. It is not just a gallery. It is the place where you decide which outputs are worth keeping, which need another pass, and which are strong enough to move into export and publishing.
If the image is successful, move quickly. Save the result, note what worked, and repeat the same decision pattern on similar products. If the image misses, do not immediately blame the model. Check the input photo, the pose, and the background choice before you spend more credits on another run. The full handoff from selection to export is covered in how to review, export, upscale, and create videos in UNSTILL.
A simple first project recipe
If you want a reliable first test, use this setup:
- Pick one strong flat lay or mannequin image of a simple garment.
- Choose two models, not four.
- Choose one or two clear poses.
- Start with a clean background.
- Generate a small batch.
- Review what changed in garment read, fit clarity, and overall brand feel.
That small loop will teach you more about UNSTILL than a huge first batch ever will.
What to do after the first good result
Once you have one result that feels right, do not jump straight to the entire catalog. Build a controlled production lane. Group similar garments together. Reuse a model set that fits the collection. Reuse a pose family that makes fit easy to understand. Keep track of which background styles convert best for each channel. Treat the app like a repeatable content system, not a one off experiment.
That is where UNSTILL starts to create real leverage. The value is not one clever image. The value is a workflow that makes high quality fashion content easier to produce, easier to standardize, and easier to scale. If you are ready to move beyond the first test, run the same setup on a small live batch in Unstill before you widen it across the catalog.