Most failed generations start before the model, pose, or background is ever selected. They start with a source photo that is hard to read. Better input is the fastest path to better output.
Why source photo quality matters so much
UNSTILL is designed to help fashion teams get more from the imagery they already own, but that does not mean every file is equally useful. The model still needs a clear view of garment shape, seams, sleeve length, hemlines, and texture boundaries. When those details are hidden by harsh shadows, wrinkles, clutter, or awkward crops, the generation has to guess. Guessing is where drift begins.
If you are trying to cut retries, reduce wasted credits, and create a repeatable workflow for your team, the source photo is the first place to get disciplined. You do not need a perfect studio setup. You do need readability.
Start by matching the input to the right workflow
The app supports on model, flat lay, and mannequin inputs. Each one has its own strengths.
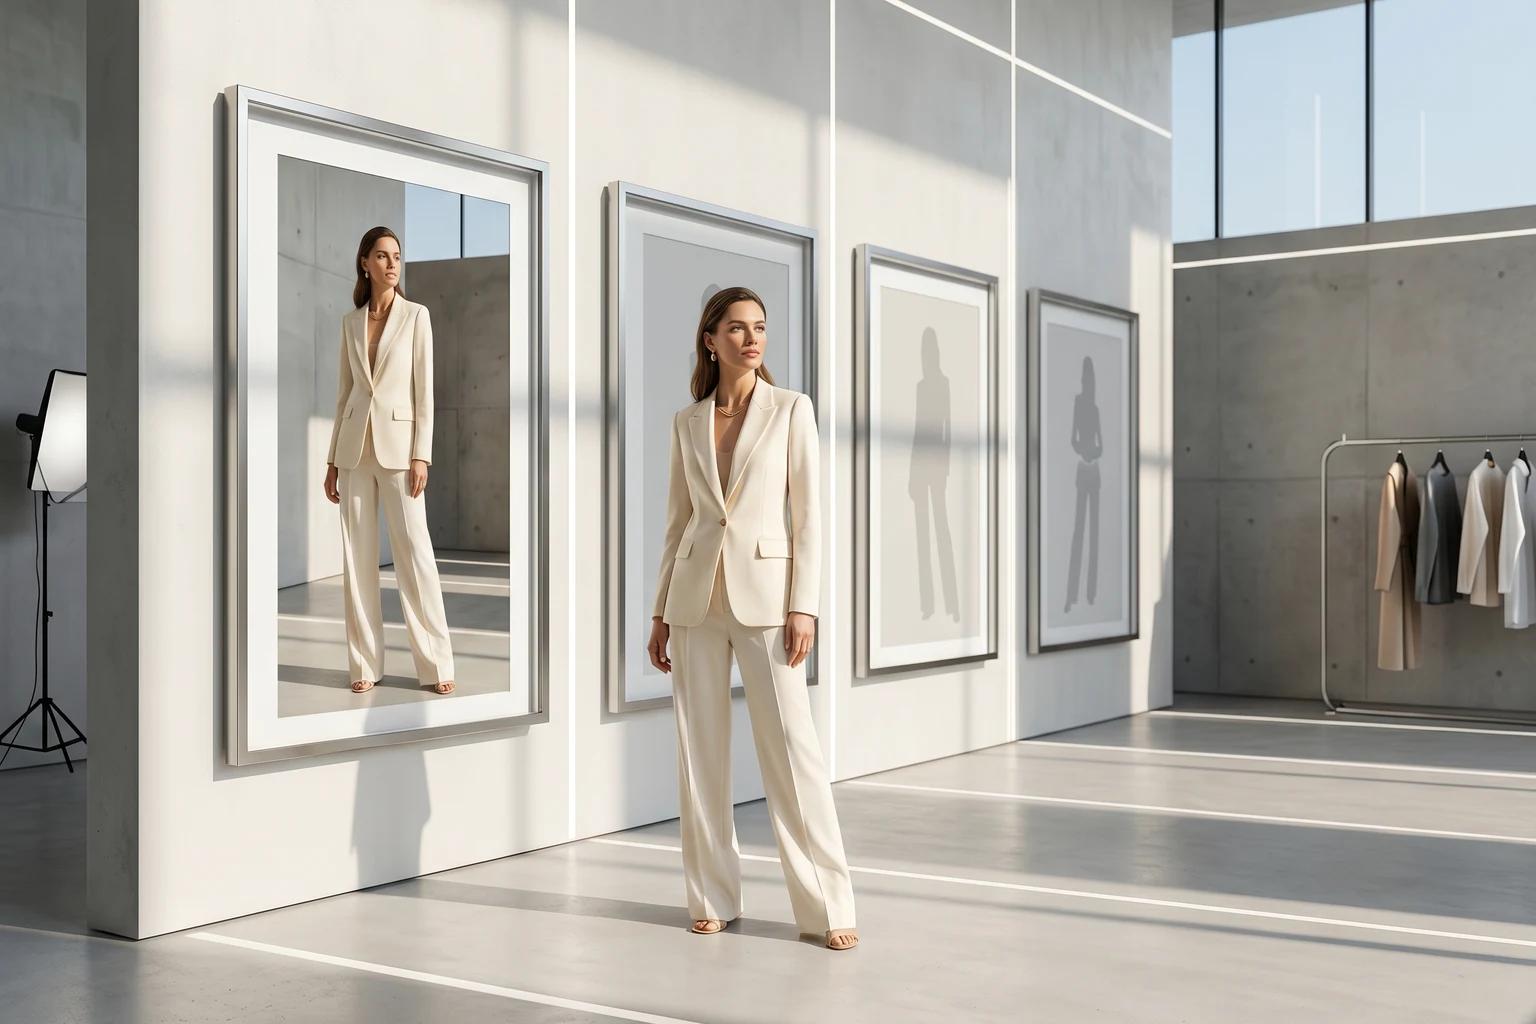
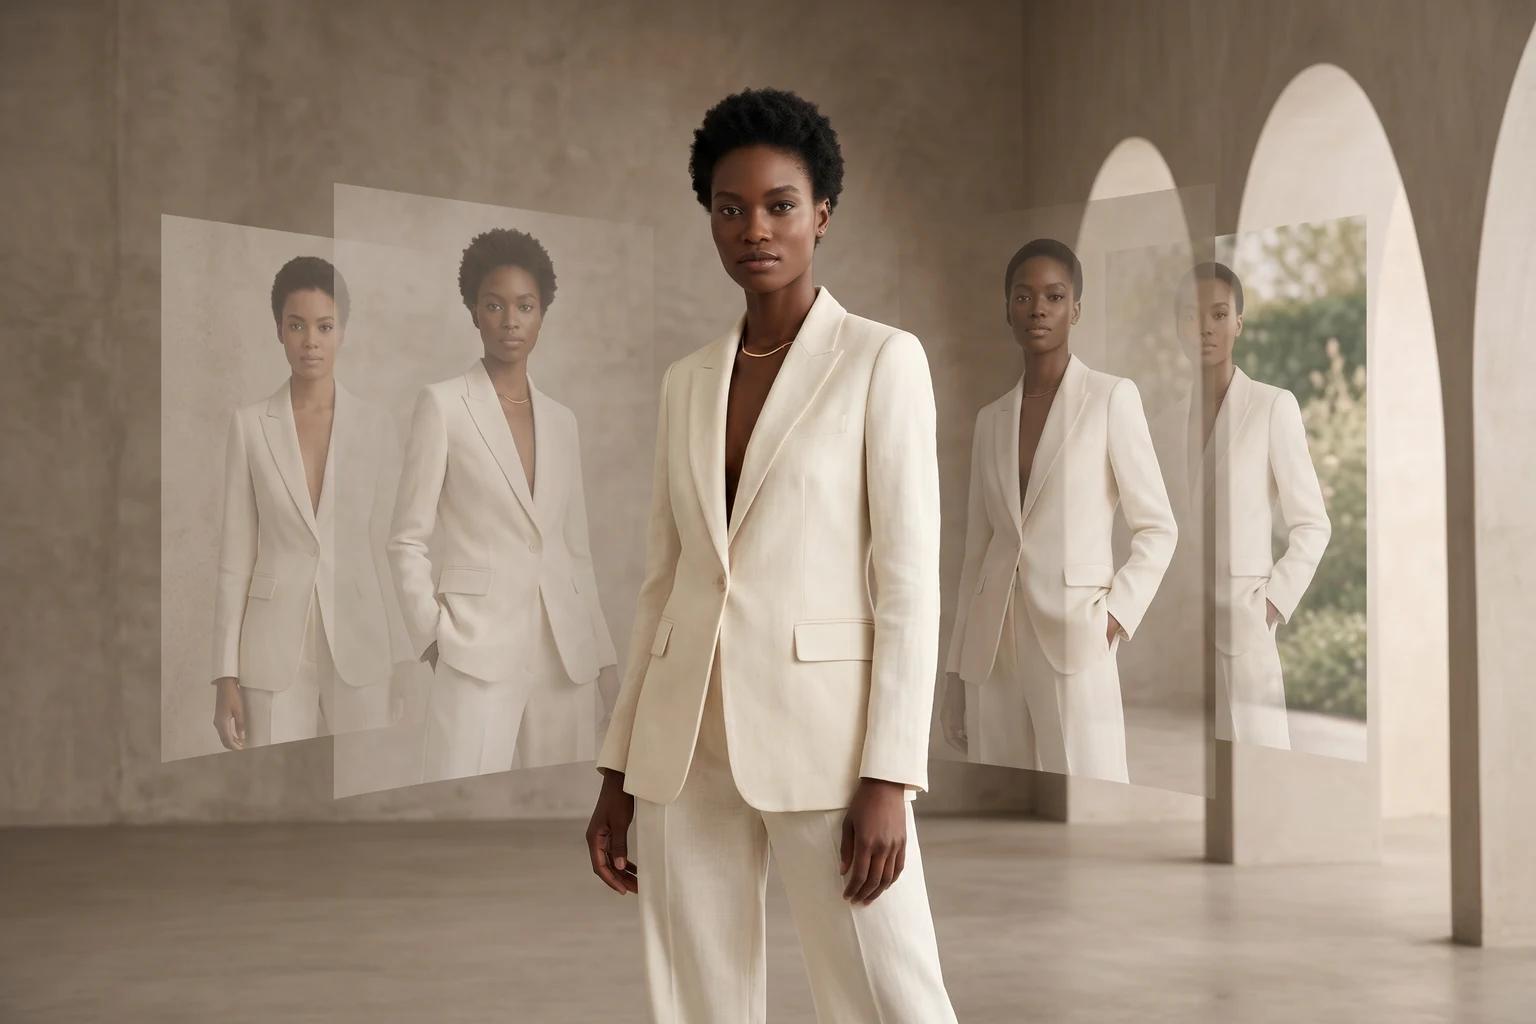
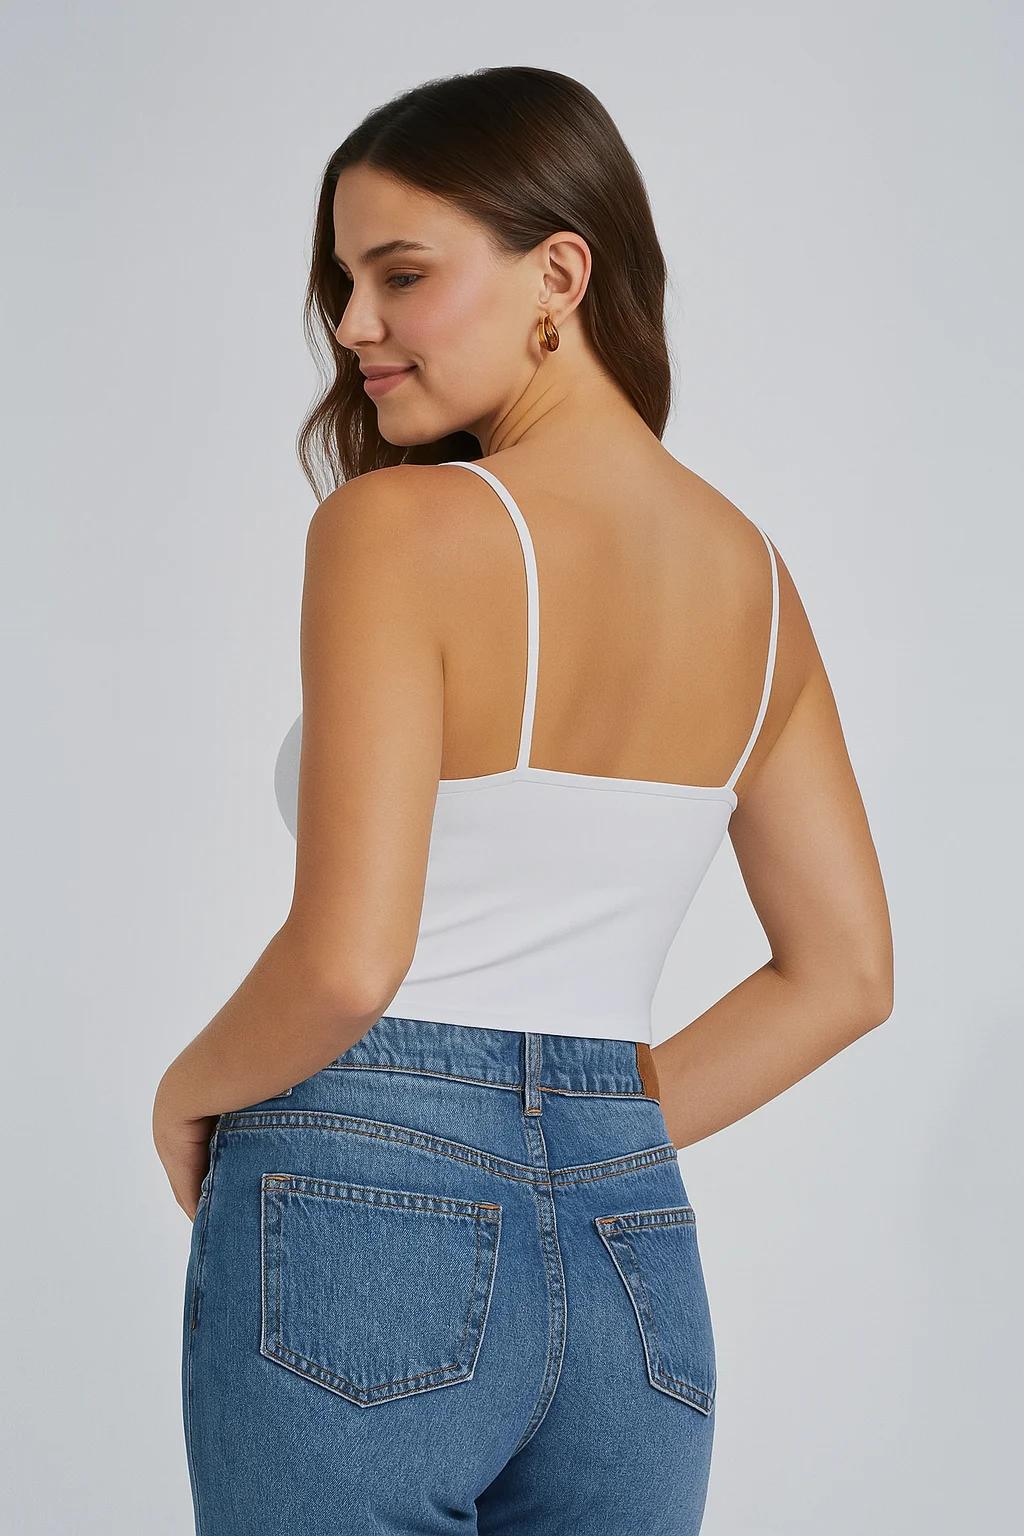
On model works when the garment is already worn and clearly visible on a person. This is a strong path when you want to change the model identity, expand representation, or refresh older catalog images without rebuilding the full shot.
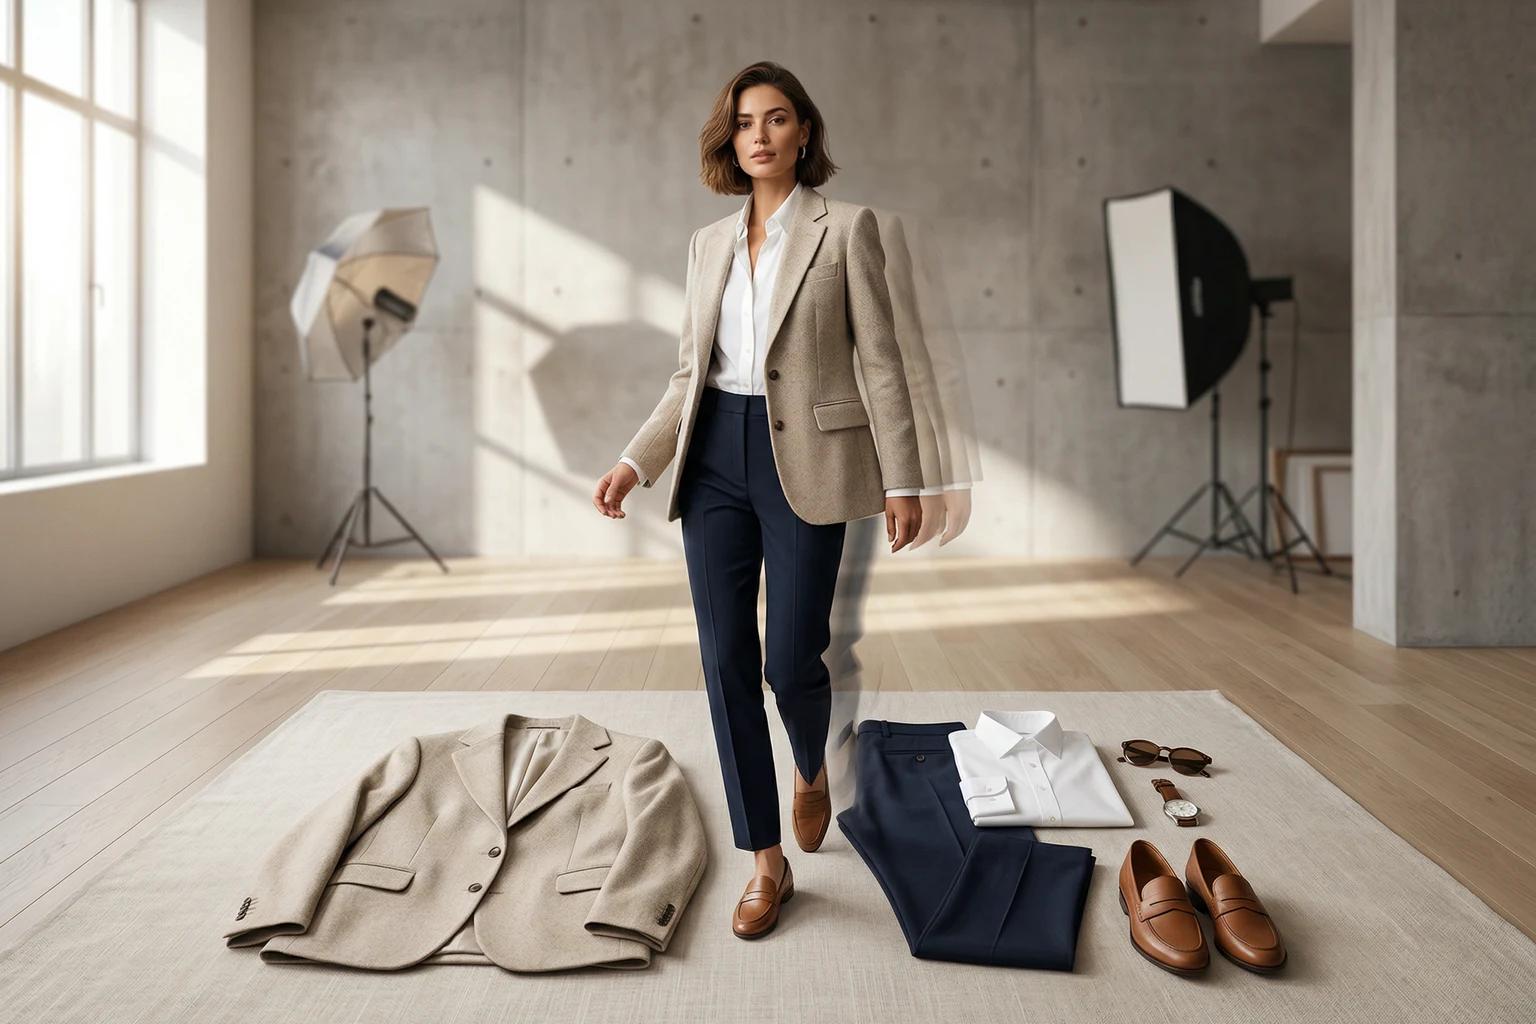
Flat lay works when the product is photographed from above in a clear, front facing arrangement. This is often the easiest place to start because it gives the model a clean garment reference without the complexity of an existing human subject.
Mannequin works when the garment is already shaped on a body form. It is especially useful for products where structure matters, such as tailored tops, dresses, or pieces that benefit from clear front facing presentation.
Do not upload a flat lay to the on model flow and hope the app will sort it out. Use the workflow that matches the actual image.
What makes a strong on model input
UNSTILL’s own guidance examples point toward full body to medium shots, readable poses, and clear garment visibility. A covered face is not always fatal. A complicated pose is not always fatal either. The real question is whether the product can still be understood at a glance.
Good on model inputs usually have enough distance to show the garment shape, enough light to separate the product from the background, and enough front or three quarter visibility to make details legible. The garment should not disappear into hair, props, crossed arms, or a second person in frame.
Avoid group shots, images where the face or body blocks the product, shots that read like editorial motion blur, and images where accessories dominate the frame. If the customer would struggle to identify the product quickly, the generation will struggle too. If you are setting up the full first-run workflow, how to get started with UNSTILL and set up a clean first project shows where this input decision fits inside the broader project flow.
What makes a strong flat lay input
For flat lay work, clarity beats styling drama. The strongest image is usually photographed straight down, lit evenly, and arranged in a way that preserves the natural silhouette of the garment. Sleeves should not be twisted. Hems should not be folded under. Necklines, closures, and important trim should all be visible without the viewer having to interpret the shot.
Wrinkles matter more than people think. A heavily wrinkled garment sends mixed signals about fit, drape, and fabric behavior. The model can still create something useful, but the output will have a harder time feeling premium. Spend a few extra minutes straightening the garment before capture and you will usually save more time later in retries.
If you are photographing a set, keep enough separation between the pieces that the top and bottom can be read clearly. Good layout makes the later pose selection more trustworthy. That is exactly why how to turn flat lay photos into model images that still feel shoppable starts with garment readability before it talks about models or backgrounds.
What makes a strong mannequin input
Mannequin photos work well when the product is front facing, evenly lit, and free of visual distractions. The mannequin should help clarify structure, not compete for attention. If the body form is partially cropped, the garment should still read as a complete product with a clean center line.
One common mistake is assuming that mannequin photography can be looser because the body shape is already there. In reality, mannequin inputs still need clean framing and clean light. Deep shadows under sleeves, dramatic side angles, and cluttered set pieces create the same ambiguity they create in flat lay work. The most reliable mannequin inputs are straightforward, balanced, and boring in the best possible way.
Crop for understanding, not for novelty
Tight crops can look premium in a campaign deck, but they are not always the best source for generation. If the crop hides hemlines, sleeve ends, or garment length, the model has to reconstruct information that is no longer present. That is risky, especially for dresses, pants, and layered pieces.
When in doubt, choose the image that gives the product more breathing room. You can always crop the final output later for ads, stories, or social formats. It is much harder to recover missing garment information after generation.
This is especially important for brands working with one product image across many downstream channels. The source should preserve as much clear garment data as possible. The distribution crop can come later.
Lighting guidelines that actually matter
You do not need heroic lighting. You need stable lighting. Flat, even, and honest light is usually better than moody light that hides details. The model can work with ordinary ecommerce lighting very well. Problems start when one side of the garment is buried, white products blow out, or black garments collapse into shadow.
If you are shooting in house, use soft light, keep color temperature consistent, and avoid mixed sources whenever possible. If the file already exists, choose the image that gives you the cleanest read on texture and shape, even if it feels less dramatic than the alternatives.
For apparel, honest light is not a compromise. It is a feature. Customers convert better when they can understand the product, and UNSTILL performs better when that information is present.
Background and scene discipline
The background in your source photo does not have to be beautiful, but it should not fight the garment. Busy props, strong patterns, deep environmental clutter, and hard shadow edges all reduce clarity. For flat lay and mannequin images, simpler is better. For on model images, the original environment can be useful, but only when the product still stands apart from it.
If you know you plan to replace the background later, keep the source scene restrained. Treat it as a functional capture environment, not as the final creative expression.
File handling and consistency tips for teams
If more than one person on the team prepares uploads, standardize the workflow. Agree on acceptable file types, preferred crops, neutral lighting expectations, and a basic review checklist. Decide how you will name projects and how you will tag tests that are meant to inform larger rollout decisions.
A small amount of operational consistency here has a big effect later. The teams that get the best results from tools like UNSTILL are rarely the ones with the fanciest setup. They are the ones that keep input quality steady.
A pre upload checklist you can actually use
Before you upload, ask six questions:
- Can I understand the garment immediately?
- Are the hem, sleeves, neckline, or key product details visible?
- Is the lighting even enough to read color and shape?
- Is the crop wide enough to preserve important information?
- Is the background simple enough that the product stands out?
- Would I use this image as a reliable product reference if I were handing it to a retoucher?
If the answer is no to several of those questions, pick another file. That decision is usually cheaper than a retry.
What to do when the only available source image is weak
Real teams do not always have ideal files. Sometimes you inherit a catalog, a reseller image, or an older product set that was never intended for this kind of transformation. When that happens, do not try to fix everything at once.
Pick the cleanest available angle. Simplify the batch. Run a small test. Use fewer models and fewer variations so you can isolate whether the issue is the source image or the creative selections. If the result comes back unstable, that is useful information. It tells you the product may need a better source image before it deserves more credits.
That discipline matters. One weak source file can make a team doubt the whole workflow when the real issue was simply that the input was doing too much damage upstream.
The practical takeaway
UNSTILL is generous with ordinary product photography, but it rewards discipline. A clear garment, a sensible crop, balanced light, and a quiet background create the conditions for better generations, faster learning, and more repeatable output. Most teams do not need brand new photo standards. They need a shared understanding of what makes a source image useful.
Once that shared standard exists, everything downstream gets easier. Model choice becomes more meaningful. Pose choice becomes more predictable. Background decisions become cleaner. Review gets faster. Credit use gets smarter. And the final images start to look like part of a system instead of isolated experiments.
If you want to turn that standard into a repeatable production lane, pair it with how to choose models, poses, and backgrounds that fit your brand in UNSTILL and start with one disciplined batch in Unstill instead of a broad first test. Use Unstill with the cleanest source files you have, then widen the workflow only after the first outputs hold up.