Flat lay photography is one of the most useful starting points in modern apparel ecommerce. It is fast to produce, comparatively affordable, and usually very clean. The problem appears later. Flat lays are good at showing the garment, but they are not always good at helping a shopper imagine scale, fit, or movement. That is where model imagery becomes valuable.
The question is not whether flat lay photos are enough. The question is how to turn them into model images without losing the clarity that made them useful in the first place.
That transformation sounds simple, but it is where many teams go wrong. They chase a more dramatic result and end up with an image that looks less trustworthy than the original. A good workflow should do the opposite. It should keep the strength of the flat lay while adding the context of a person wearing the product.
Why flat lay is such a strong source format
A flat lay gives the system something fashion teams rarely appreciate enough, a clean read on the garment. Sleeves, neckline, hemline, closures, and fabric structure are often easier to understand from a well shot flat lay than from a busy on model image. There is no crossed arm hiding the side seam. There is no hair covering the neckline. There is no background competing with the product.
That is why flat lay is often the best entry point for brands exploring AI assisted fashion imagery. If the garment is photographed from above, front facing, evenly lit, and arranged with care, the source image contains a lot of usable information. The model image does not have to invent the product from scratch. It can build from a clean reference.
This is also why messy flat lays cause outsized problems. When the garment is twisted, wrinkled, heavily folded, or unevenly lit, the system loses the very thing that made flat lay useful. If you want a stricter checklist before you run the first test, how to prepare product photos for the best UNSTILL results covers the source image standards in more detail.
The goal is not spectacle
When teams first try to turn flat lay photos into model images, they often chase proof that the transformation is possible. They pick a dramatic pose, a loud scene, and a wide range of models. That may produce an eye catching output, but it is not the best test.
The better goal is believable commerce imagery.
A shopper should still trust the garment. A merchandiser should still understand the fit story. A creative lead should still see brand consistency. If any of those things break, the image may be interesting but commercially weak.
This is worth emphasizing because the best flat lay to model workflow is usually quieter than people expect. It is about preserving truth while adding context.
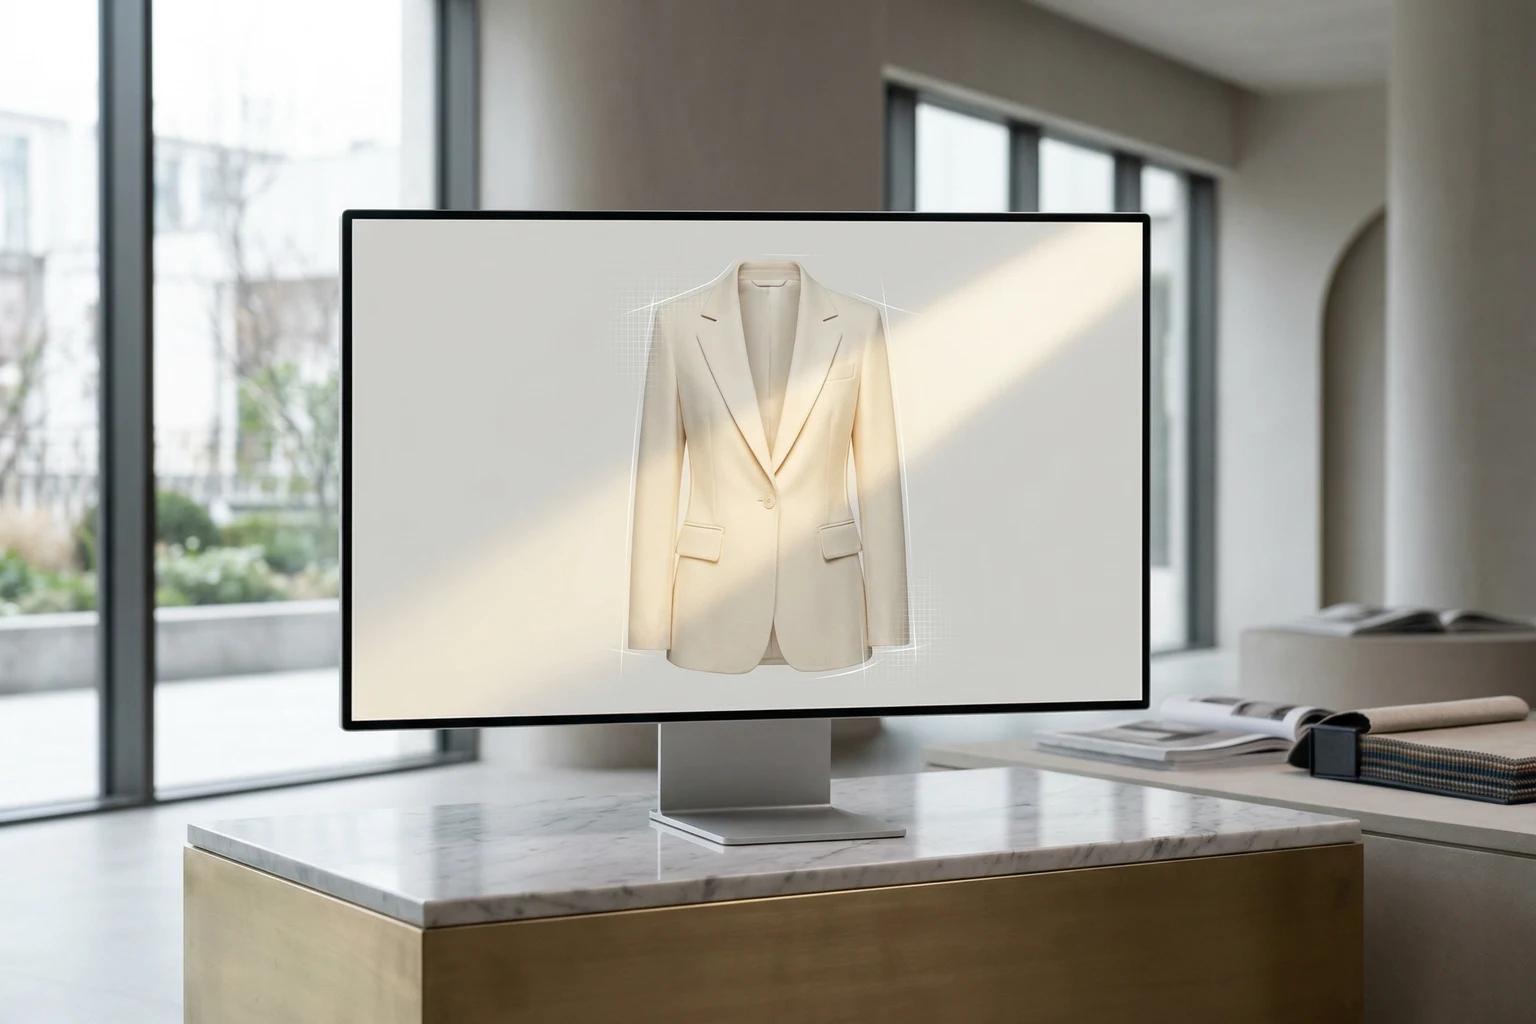
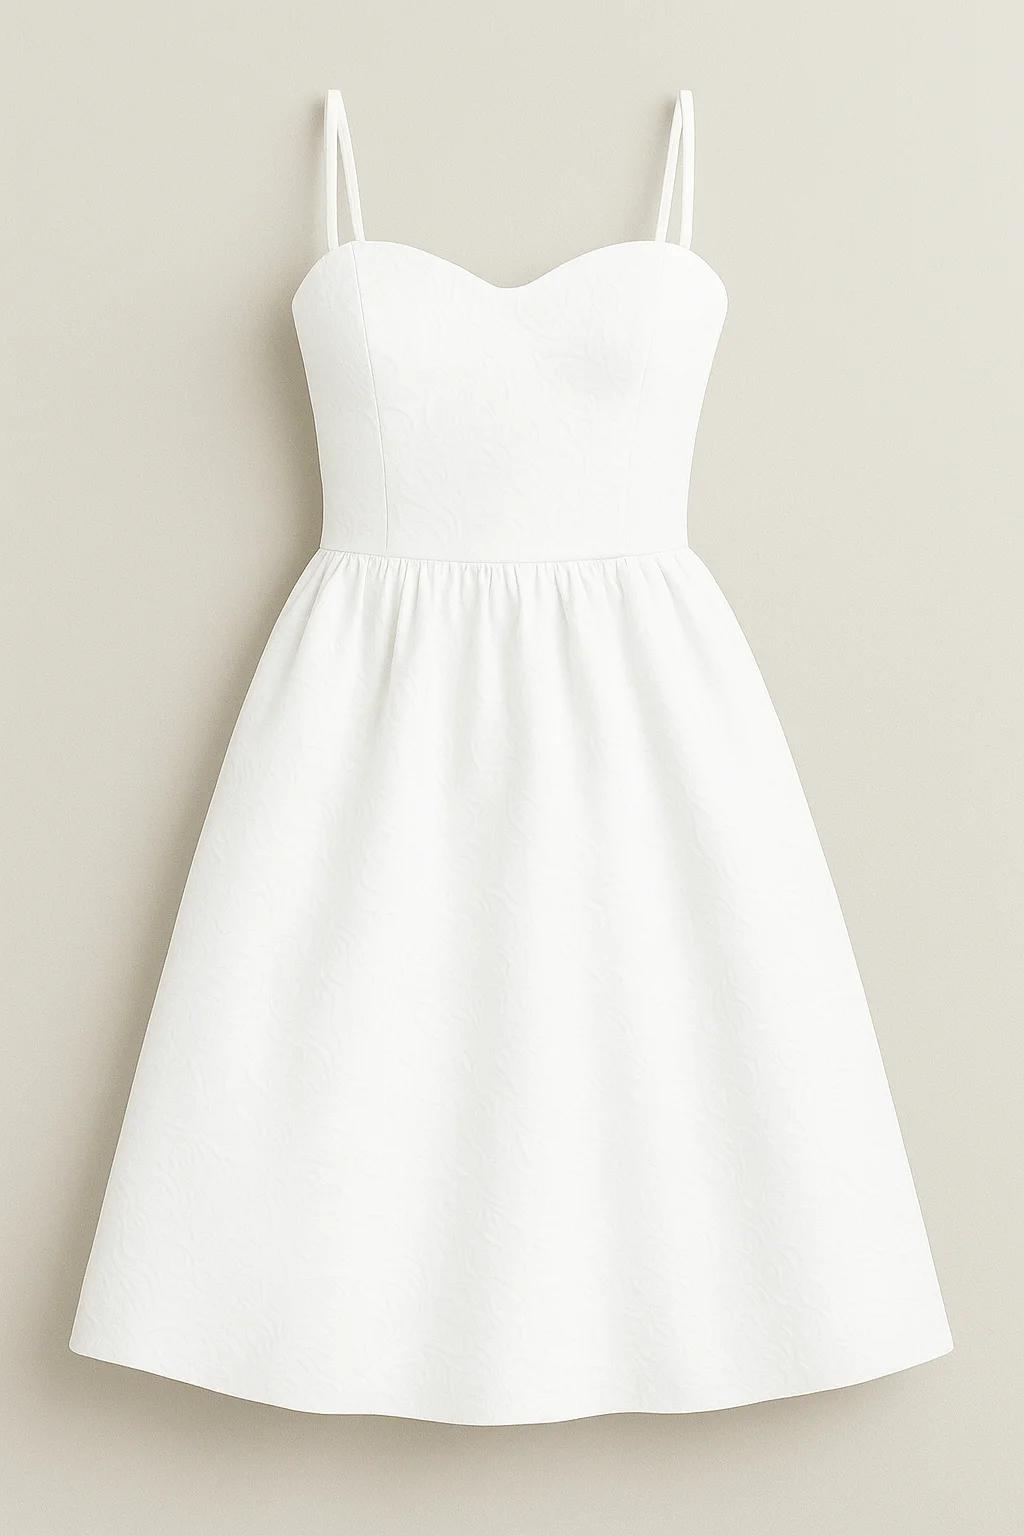
Start with the cleanest possible garment photo
The best flat lay source image is almost boring. The camera looks down cleanly. The garment is centered. The silhouette is natural. Wrinkles are minimal. The lighting is stable. The product edges separate clearly from the background. If there are multiple pieces, each one remains readable.
That kind of image gives you options later. You can test models. You can test poses. You can test backgrounds. When the source photo is weak, every downstream decision becomes harder to judge because you do not know whether the problem came from the creative choice or from the input itself.
One of the easiest ways to save credits is to be ruthless at the source selection stage. If the flat lay looks awkward before generation, it will probably stay awkward after generation.
Choose the right garment for the first test
If you are new to this workflow, do not start with the hardest possible piece. A simple dress, knit, shirt, or set will teach you more than a heavily layered fashion story or a difficult technical garment. You want a product that can reveal whether the workflow is sound, not a product so complicated that every result becomes hard to diagnose.
This matters because the first success should be repeatable. If your first good result depends on an unusually forgiving garment, you will not learn much. If your first good result comes from a product type you sell often, you can immediately see how the process scales.
Model choice should answer a business question
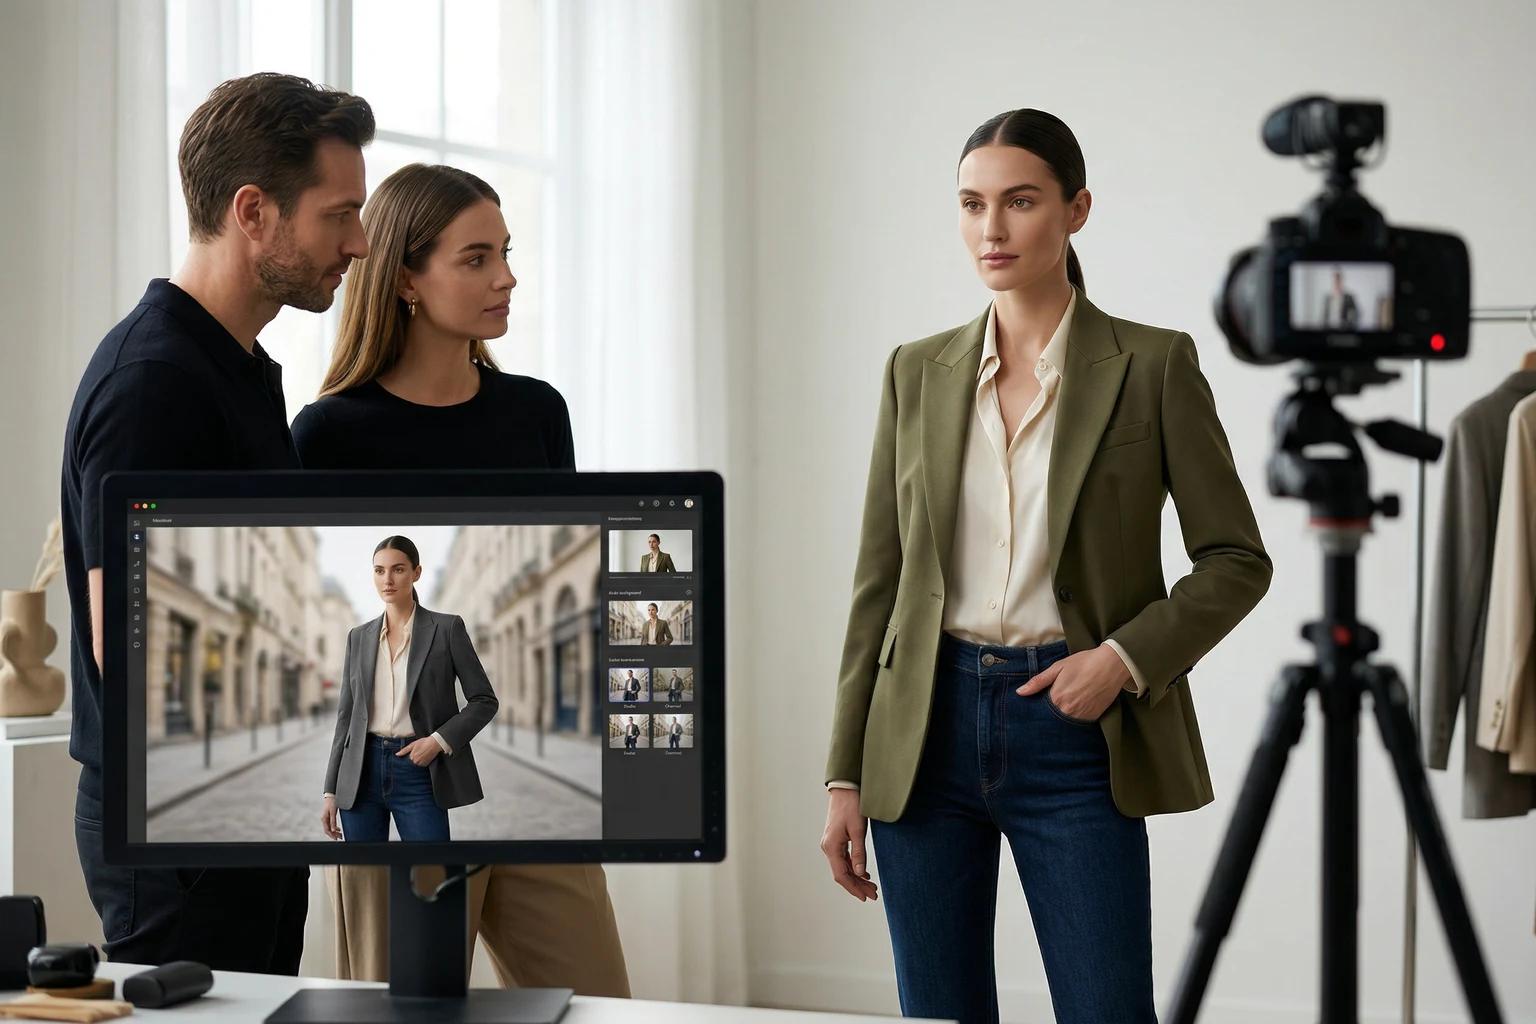
Once the flat lay is uploaded, the next important decision is model direction. This is where a lot of brands waste time because they browse visually instead of thinking commercially. Pick the model based on what the image needs to do.
Are you trying to create a strong primary product image for the site. Are you trying to widen representation across the catalog. Are you testing how the same garment feels on different model types. Are you adapting a proven product for a new campaign lane. Each of those goals may call for a different choice.
The strongest early tests usually select two models, not four. That gives you enough comparison to learn something useful without making the results noisy. If the two models feel like they belong to the same brand world, the comparison will also be easier to interpret.
Why pose matters more than most teams expect
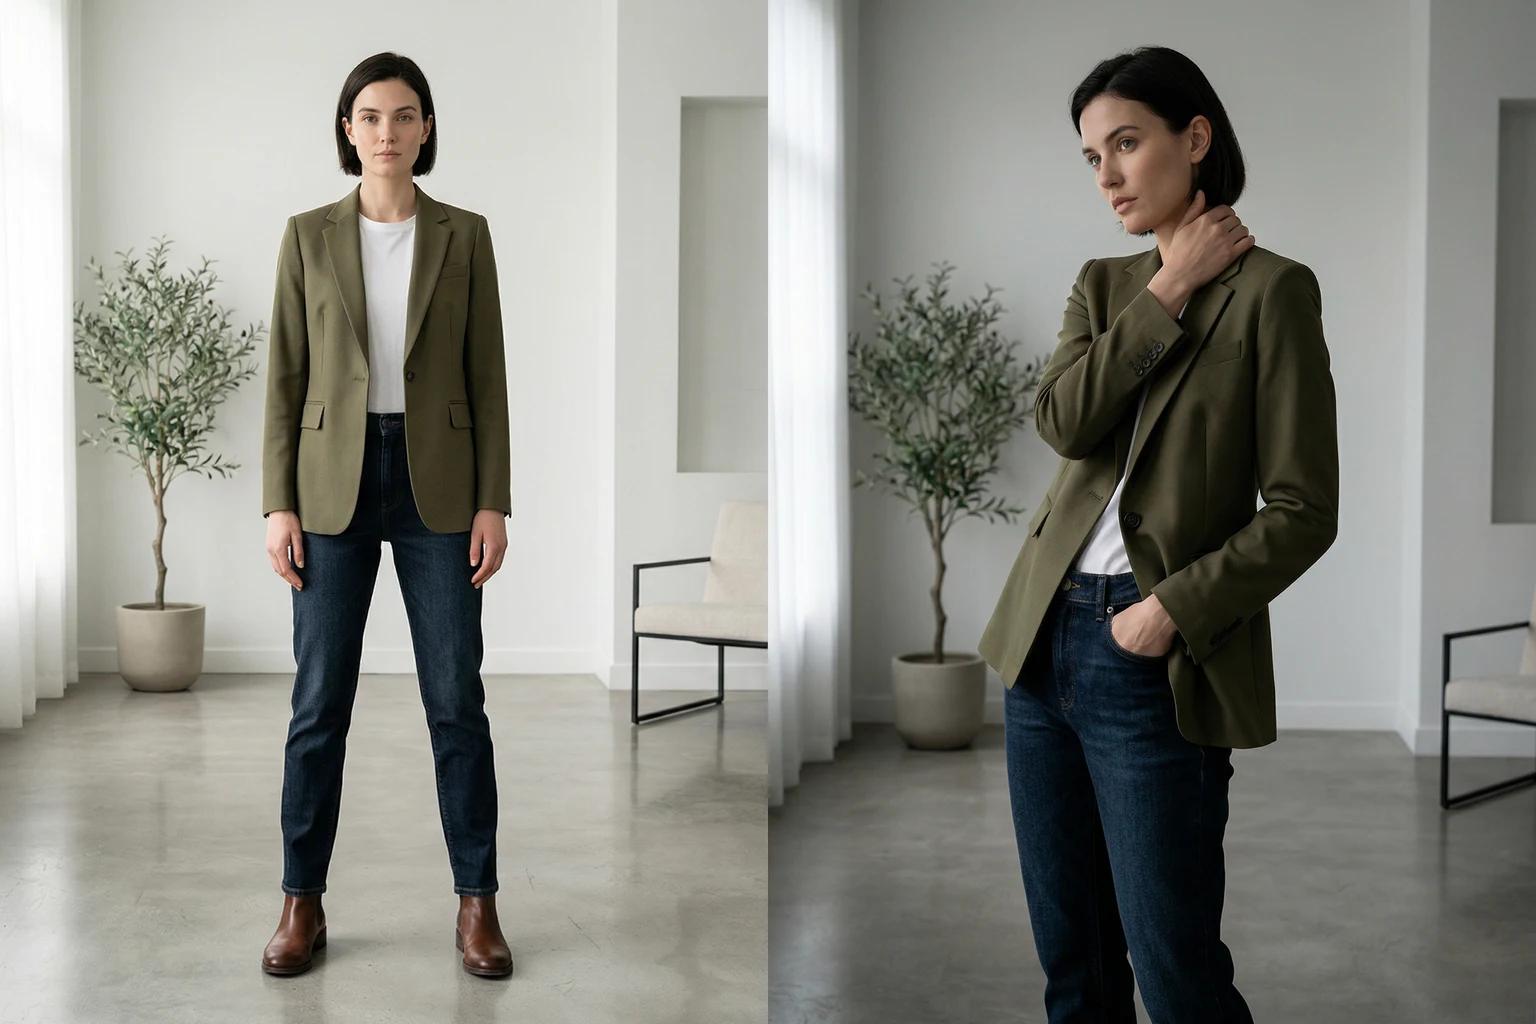
In a flat lay to model workflow, pose is not just a styling decision. It is the bridge between the garment reference and the way the shopper experiences fit. That means pose has to be chosen for clarity before drama.
For most ecommerce needs, a stable pose is the smartest place to begin. A relaxed standing position, a light step, or a gentle turn often communicates more than something overly expressive. The moment a pose starts hiding the garment or distorting its shape, the image loses one of its core jobs.
This does not mean movement is bad. Some garments benefit from it, especially flowing dresses, wider silhouettes, and products where drape is part of the selling point. The key is intention. Choose movement because it helps the product, not because it makes the result feel more obviously generated.
Background should serve the destination
The next decision is background. Many teams overestimate how often a scene helps. For product detail pages and collection grids, a clean backdrop is often stronger. It keeps attention on the garment and makes the image easier to compare across the catalog.
Scenes become more useful when the image is headed somewhere that benefits from more atmosphere, such as social content, launch email, or a landing page module. Even then, the environment should reinforce the product rather than compete with it. A brand that sells calm, refined basics does not suddenly need a loud visual setting. A product with subtle detail should not be placed in an environment that overwhelms it.
This is where teams often confuse visual interest with selling power. The background is working when the product feels more persuasive, not when the environment gets all the attention.
Review like a merchant, not just a creative
When the images come back, do not start by asking which one feels coolest. Ask better questions.
Does the garment still look like itself. Can a shopper understand fit and proportion. Does the image feel aligned with the rest of the site. Would this image work at thumbnail size. Would it hold up as a hero image. If the answer changes depending on the channel, note that. Not every output has to do every job.
The best teams review generated images through both a creative lens and a merchandising lens. That dual view is what keeps the work useful. If an image looks stylish but confuses fit, it may still have value for social, but not for PDP. If it feels restrained but extremely clear, it may be perfect for commerce.
That is not compromise. That is channel discipline.
Common reasons flat lay to model outputs fail
Most failures fall into a few familiar categories.
The first is a weak source image. If the flat lay is wrinkled, crooked, or incomplete, the output often inherits uncertainty.
The second is an overly ambitious selection set. Too many models, too many poses, and too many background ideas make it harder to tell what actually helped.
The third is a mismatch between garment and pose. A structured top may not benefit from an expressive movement choice. A soft dress may look stiff in a pose that hides its drape.
The fourth is poor review logic. Teams rerun an image because it feels off, but they do not identify whether the problem came from the source, the model, the pose, or the background. That is how retries become waste.
If you identify the failure mode clearly, the next run gets much smarter.
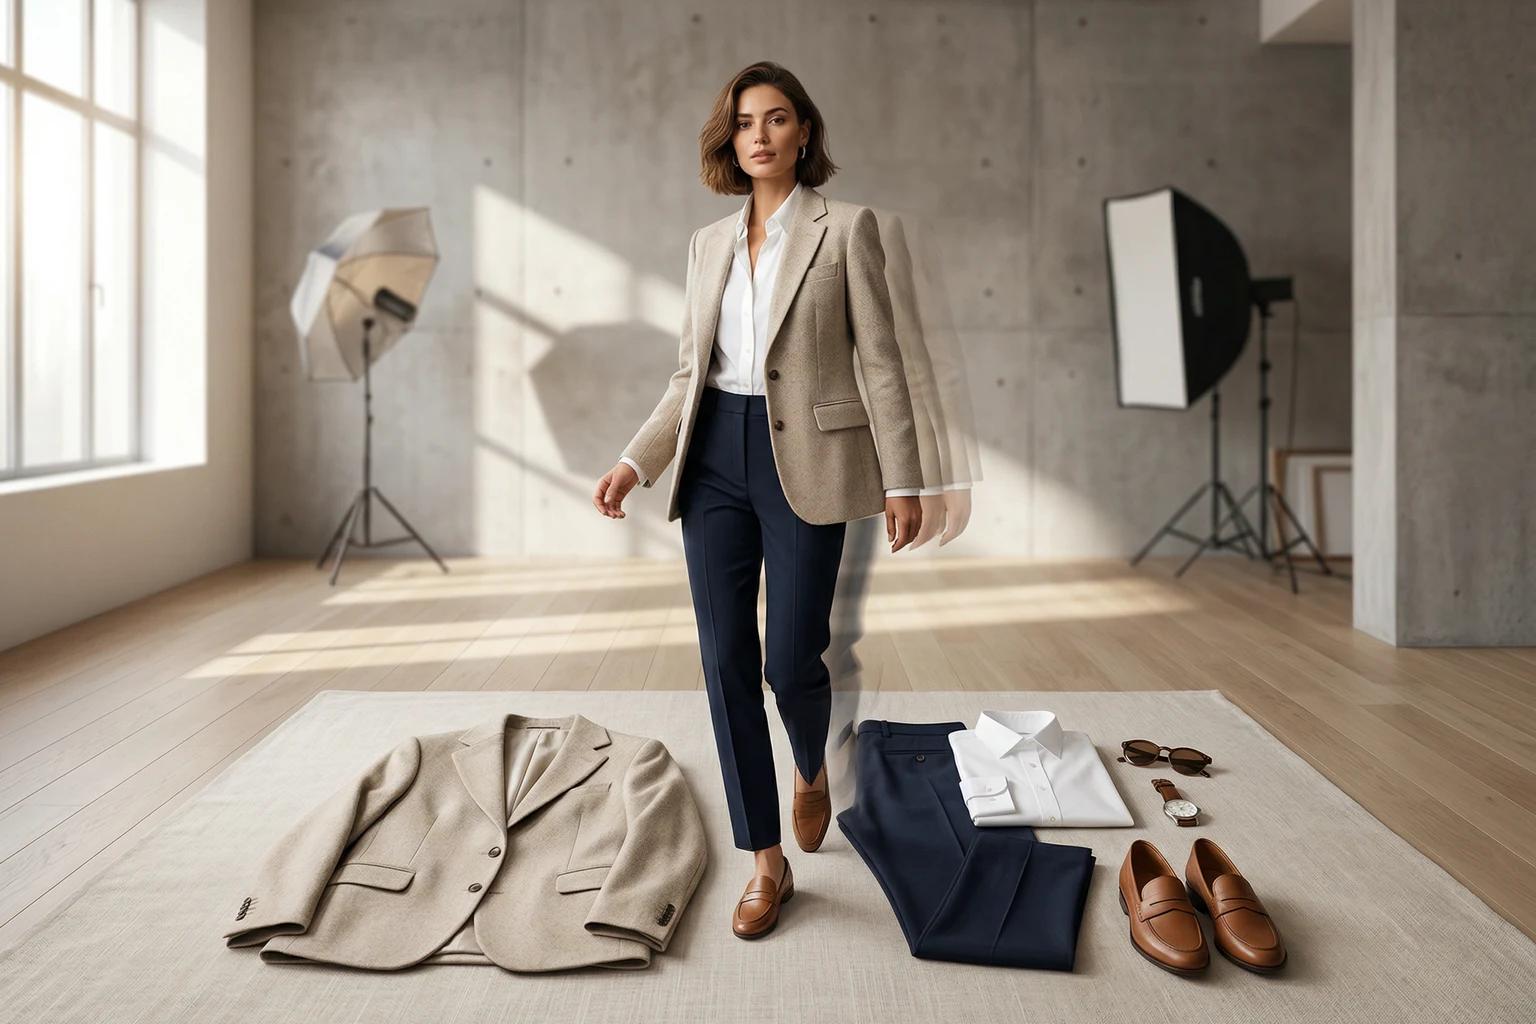
A simple workflow that works for most brands
If you want a practical starting method, use this sequence.
- Choose one flat lay image that reads clearly and honestly.
- Select two models who fit the same brand world.
- Pick one or two poses that preserve garment understanding.
- Start with a clean backdrop.
- Generate a small batch.
- Review for garment trust, fit clarity, and brand consistency.
This kind of narrow test gives you real information. Once you know what works, you can widen the system with better confidence.
If you need a deeper walkthrough, the UNSTILL model and background guide covers the decision logic in more detail.
Where this workflow creates the most value
The flat lay to model process is especially useful for brands that already have a good library of basic product photography but lack enough on body imagery. It is strong for replenishment products, evergreen categories, smaller launches, marketplace adaptation, and catalog refreshes. It can also help young brands look more complete earlier, because it allows them to stretch limited photo resources further.
What makes it valuable is not only cost savings. It is speed and flexibility. A product team does not have to wait for the next studio booking to test a new presentation. A growth team does not have to build paid creative from a thin image library. A merchandising team can learn what kind of visual treatment improves clarity before committing to a wider rollout.
Those gains add up quickly.
The real standard for success
A successful flat lay to model image does not need to look miraculous. It needs to feel credible. It needs to help the shopper understand the garment more fully than the original flat lay did. It needs to fit into the visual language of the brand. It needs to be good enough that your team would use the same method again on the next ten products.
That is the bar worth chasing.
When fashion teams approach the workflow that way, flat lay stops being a limitation and becomes an asset. It gives the system a clean garment reference. It gives the team room to make deliberate creative choices. And it turns one efficient source format into a broader set of useful images without requiring another full production cycle.
That is where the workflow stops feeling experimental and starts feeling like part of the business. If you want to turn that into a repeatable lane, use Unstill on one clean category set first, then widen the method once the outputs are holding up on real PDPs.