A lot of fashion product pages underperform for a simple reason: the images make the shopper work too hard.
The product itself may be strong. The fabric may be good. The price may be right. But if the image order hides the silhouette, delays the detail shot, or skips the back view, the customer is left filling in gaps. That is where hesitation starts.
A strong PDP image sequence does not just look polished. It answers questions in the right order. It helps the shopper understand the garment faster, trust what they are seeing, and move closer to purchase without friction.
This guide breaks down how to structure that sequence, what each image should do, and where AI generated fashion visuals can help when your team is missing key frames. If your team is already reworking pose logic, fashion model poses for ecommerce product pages will help you tighten the job of the on-body frames inside that sequence.
Why image order matters more than image count
Many brands focus on how many images a PDP should have. The better question is what each image is responsible for.
A shopper rarely studies every frame with equal attention. They scan. They compare. They jump to the detail they care about most. If the first few images do not establish confidence, the rest of the gallery often does less work than teams expect.
In fashion ecommerce, a good PDP image sequence should help the shopper answer five practical questions:
- What is this item at a glance?
- How does the shape read on body?
- What does the material and construction look like up close?
- What am I not seeing yet, like the back, side, or fit through the leg?
- Does this feel right for my style, use case, or wardrobe?
That is a merchandising problem, not just a photography problem.
The five jobs your PDP images need to do
1. Confirm the product immediately
Your first image should remove ambiguity, not create intrigue.
For most apparel, that means a clean, readable hero frame with strong garment visibility. The shopper should understand the product category, color, overall shape, and general styling direction in a second or two.
If the first image is too cropped, too moody, or too campaign led, the PDP starts with friction.
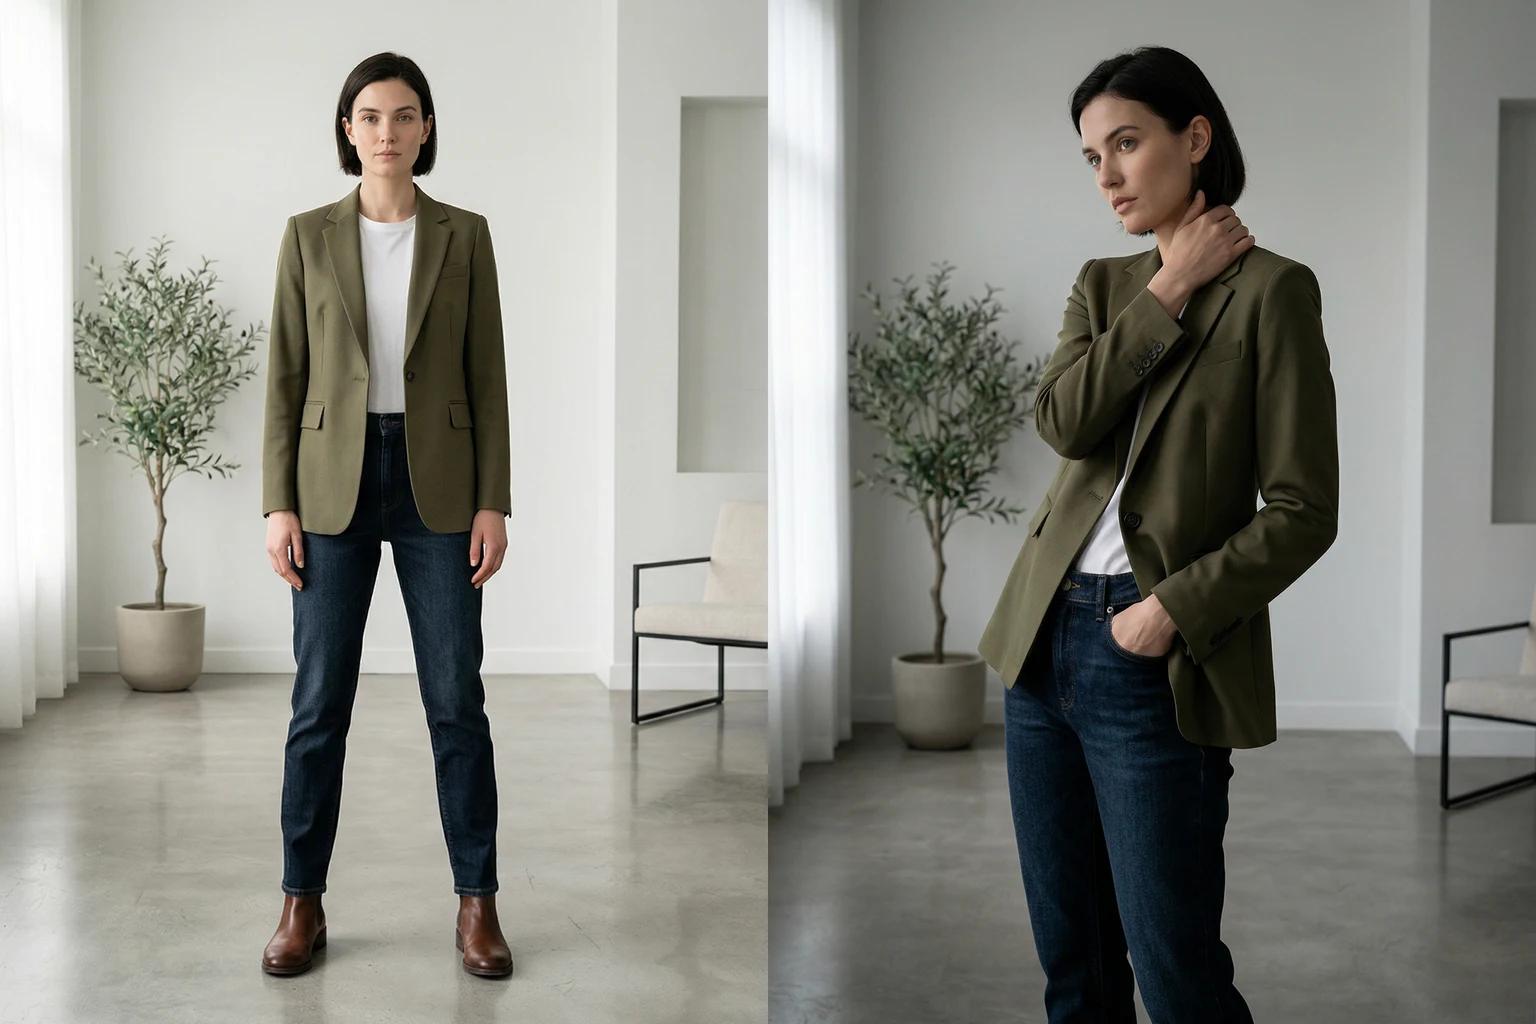
2. Show the garment on a body
Fashion is easier to judge when the customer can see proportion, drape, and silhouette in context.
That does not mean every second image has to be highly styled. In many cases, a straightforward on model frame that shows how the product hangs is more useful than a more dramatic pose.
For tops, shoppers want to understand sleeve shape, hem length, and shoulder line. For dresses, they want to understand length, structure, and movement. For trousers, they want to see rise, leg shape, and how the fit reads from the front and side.
3. Prove quality through detail
After the silhouette is clear, the shopper starts looking for evidence.
This is where close-up imagery earns its place. Texture, stitching, ribbing, closures, hardware, waistband finish, and fabric weight cues all help the customer move from interest to confidence.
If you sell knitwear, tailoring, denim, or premium basics, detail frames do a lot of heavy lifting.
4. Remove uncertainty
A surprising number of PDPs still skip the views that answer the most common objections.
The back view matters. The side view matters. A closer crop of the neckline or cuff matters. These are not filler frames. They are what keep the customer from wondering what is being hidden.
5. Add energy without losing clarity
Lifestyle or editorial images are useful when they deepen the product story, not when they replace core information.
Once the garment has been explained clearly, a more expressive frame can help the shopper imagine use, attitude, and styling. But it should come after the product has already been made easy to understand.
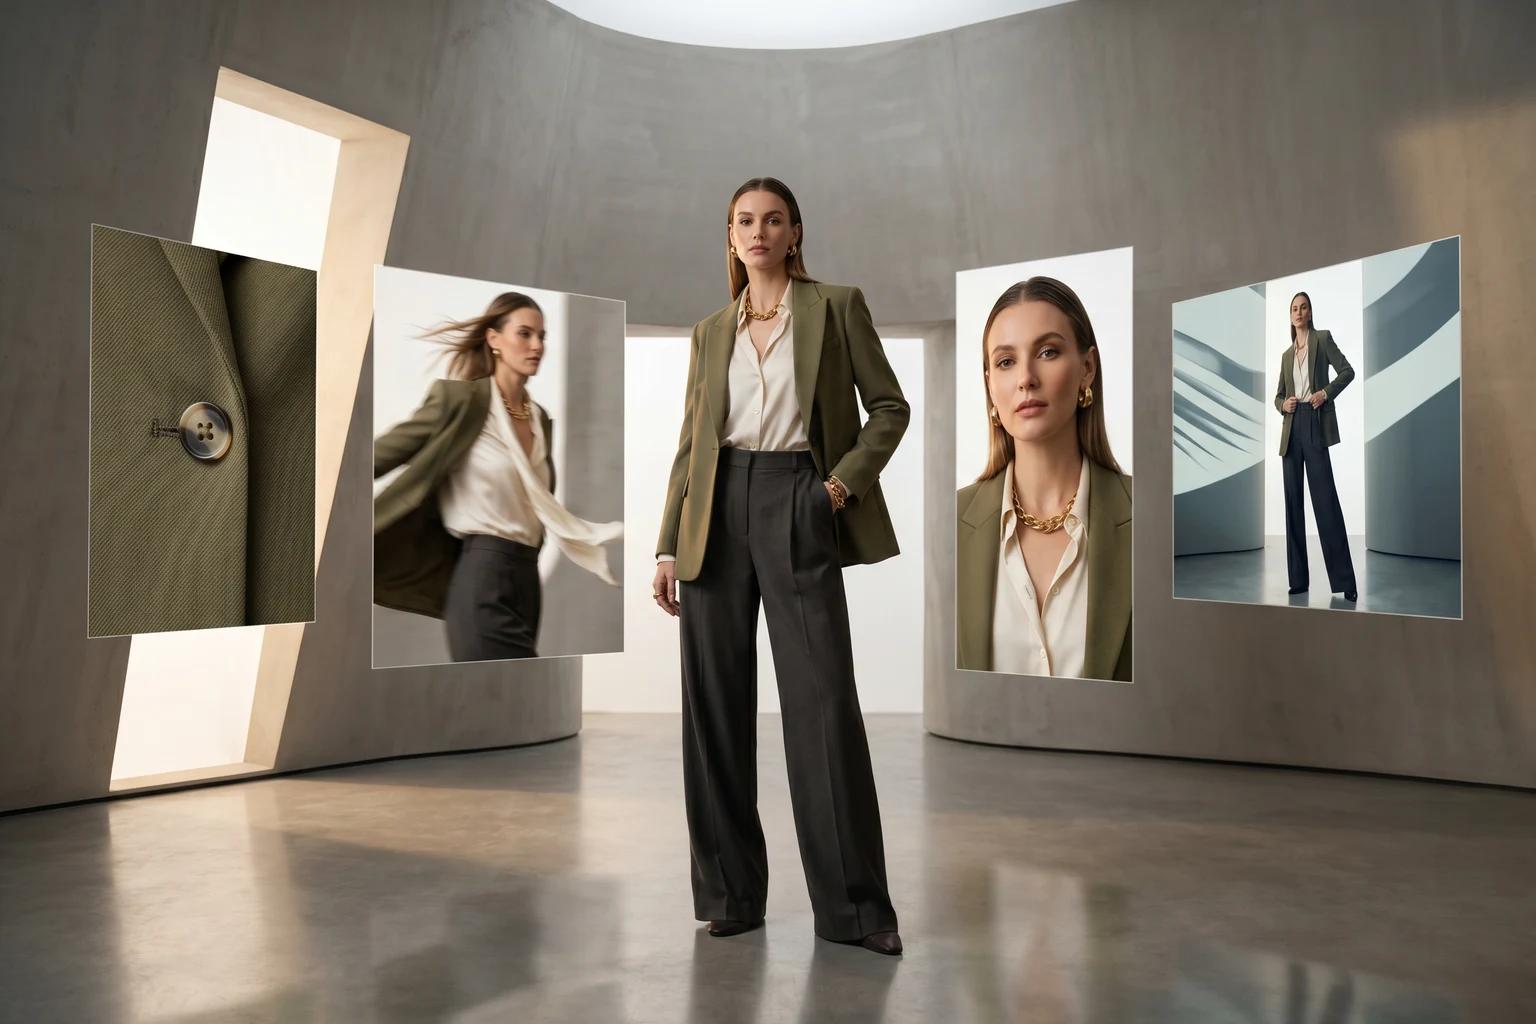
A practical seven-image sequence for most fashion PDPs
If your team needs a default structure, start here.
- Hero image
A clean primary frame with immediate readability. The garment should be unmistakable. - Full-body alternate
A second on model image that confirms silhouette from a slightly different angle or stance. - Detail close-up
A crop that proves texture, material, trim, or construction. - Back view
Essential for reducing guesswork, especially on dresses, tops, outerwear, and denim. - Side or movement frame
Useful for showing drape, leg line, sleeve volume, or how the garment sits in motion. - Styling context image
A slightly more expressive frame that shows how the item fits into a full look. - Optional motion extension
A short still to video asset or motion led frame when movement is part of the product story, such as dresses, skirts, wide-leg trousers, or outerwear.
This sequence is not rigid. It is a strong starting system.
[Visual suggestion: seven-frame fashion PDP storyboard showing hero, on-body, detail, back view, fit cue, styling frame, and motion-led close]
Adjust the sequence by product type
The exact order should change based on what the customer needs to evaluate.
Dresses and jumpsuits
Prioritize shape, length, and movement early. A detail shot is still useful, but shoppers usually need the body read first.
A strong sequence here often emphasizes:
- Front silhouette
- Full-length alternate
- Back view
- Movement frame
- Fabric detail
Knitwear and tops
Texture and construction matter more. If the value of the garment sits in the knit, weight, collar, or finish, get to detail a little faster.
A strong sequence here often emphasizes:
- Clean hero
- Alternate on model frame
- Knit or fabric close-up
- Back view
- Side view for sleeve and hem shape
Denim and trousers
Fit anxiety is high. Do not bury the views that explain rise, leg shape, and back fit.
A strong sequence here often emphasizes:
- Front full-length frame
- Side view
- Back view
- Waistband or fabric detail
- Styling frame
Outerwear
Volume, closure, layering room, and texture all matter. The shopper needs both structure and context.
A strong sequence here often emphasizes:
- Closed front hero
- Open styling frame
- Back view
- Texture or hardware detail
- Side or movement frame
The fastest way to weaken a PDP gallery
The most common mistakes are not dramatic. They are small decisions that pile up.
- Leading with a campaign image before the product is clear
- Repeating similar front-facing poses with no new information
- Skipping the back view
- Using detail shots that are too tight to orient the customer
- Showing an expressive pose that hides fit through the waist, hip, or leg
- Mixing inconsistent backgrounds or crop logic across the same collection
- Treating video as an add-on instead of part of the visual decision system
When teams say a PDP has enough images, they often mean it has enough files. That is not the same thing as enough answers.
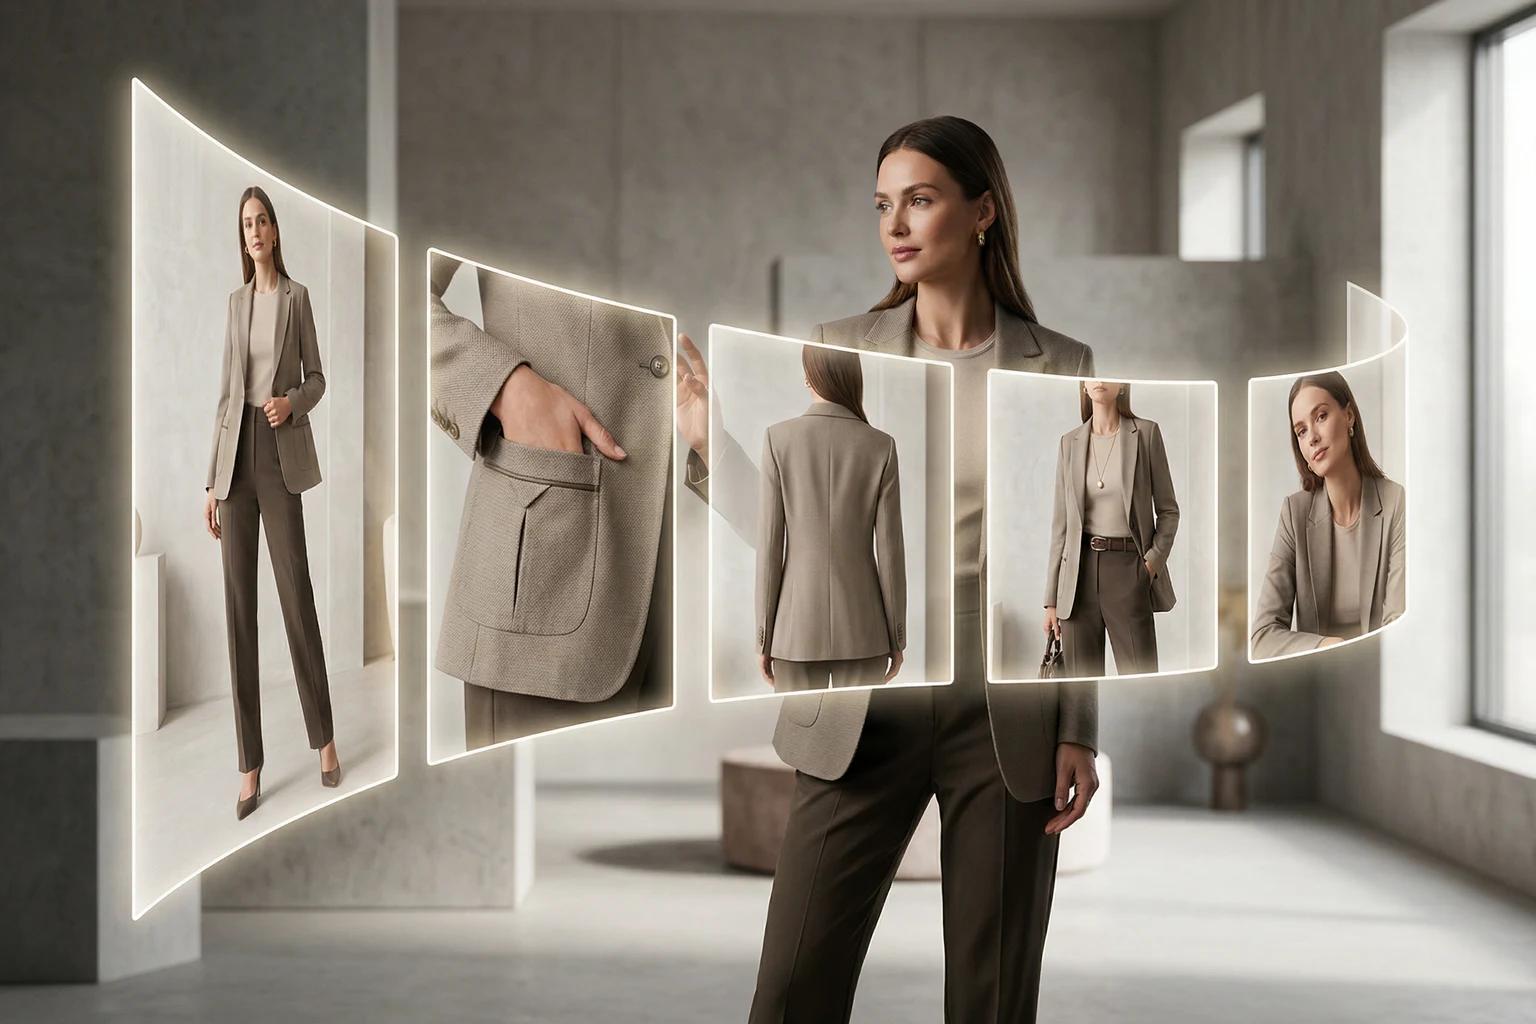
How AI can help fill sequence gaps without a full reshoot
This is where AI generated fashion visuals become operationally useful.
If you already have a flat-lay, mannequin shot, or one strong on model frame, you may not need to rebuild an entire production day just to complete the gallery. In many cases, you need a cleaner pose option, a more readable background, a different model presentation, or a motion friendly extension of an existing still.
For brands working this way, a tool like Unstill can help create missing visual slots more efficiently:
- Turn flat-lays into on model imagery when you need silhouette context
- Convert mannequin shots into more natural model led PDP frames
- Swap models while keeping the garment presentation consistent
- Test background treatments that fit PDP clarity or campaign needs
- Extend a strong still into a short fashion video when movement will help the product read better
The important point is not to generate more images for the sake of volume. It is to complete the sequence with intent. For teams working from mixed source formats, mannequin vs model photography for ecommerce and how to turn one fashion photo into PDP, email, and social assets both map where those extensions make sense.
A merchant reviewing outputs should still ask the same questions:
- Does this frame help the shopper understand the product faster?
- Does it clarify fit, detail, or styling?
- Does it belong in the gallery, or is it just visually interesting?
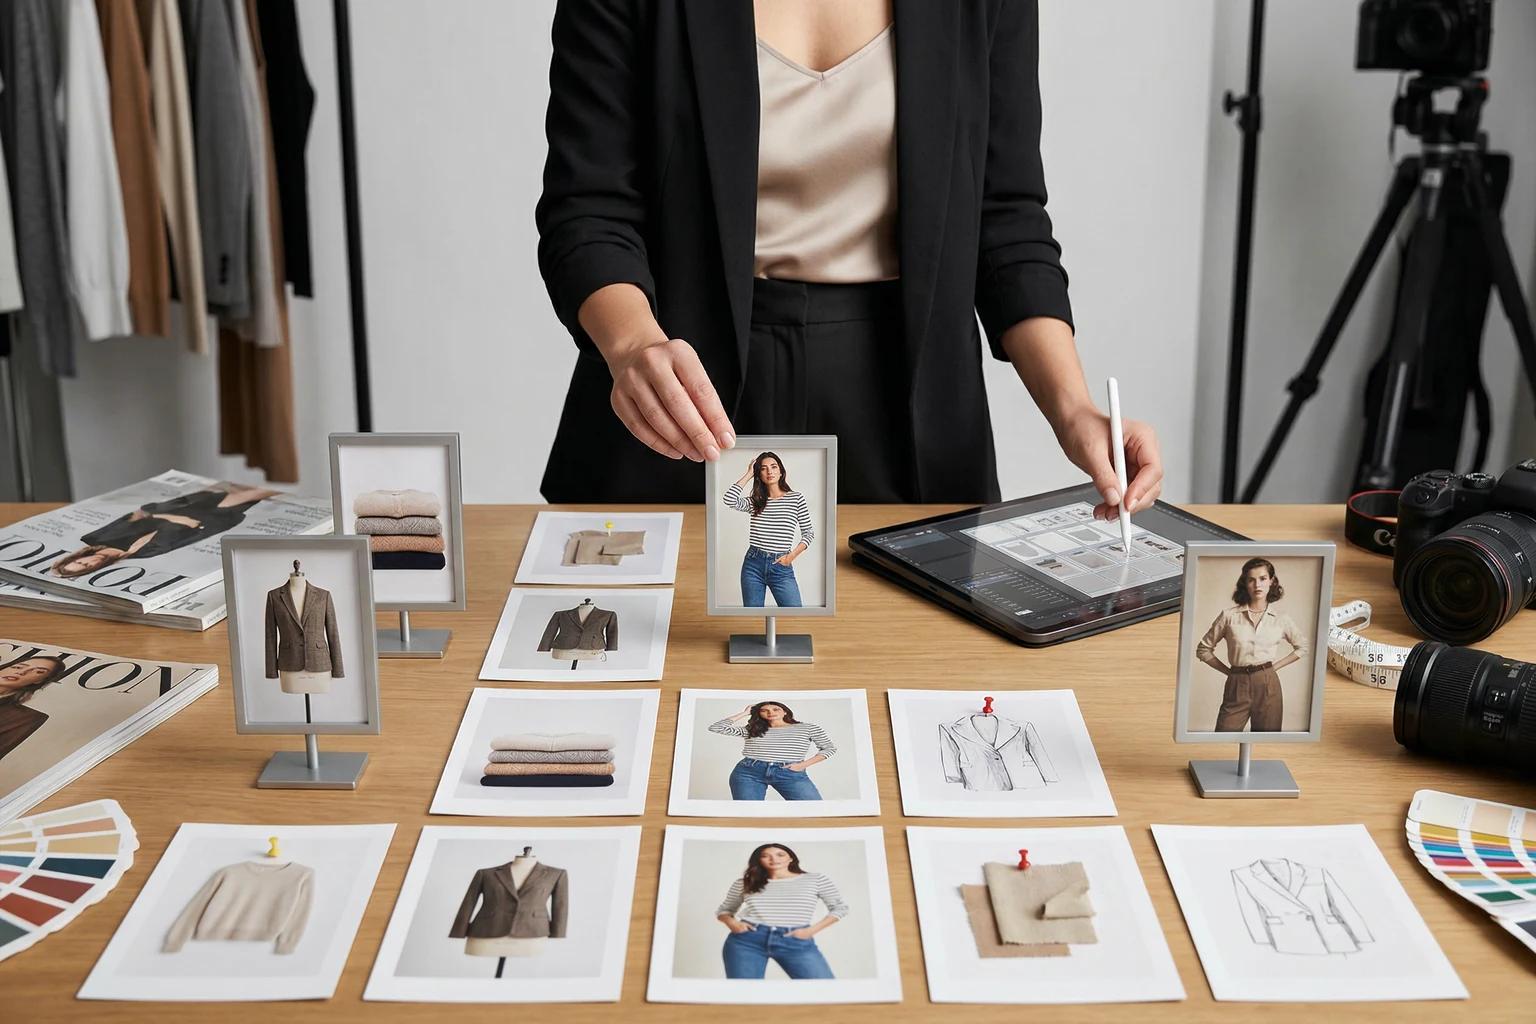
Build the sequence before you shoot or generate
The strongest teams do not wait until asset review to decide what the gallery should contain.
They define the shot logic first. That gives photographers, retouchers, ecommerce managers, and AI operators a shared standard. It also makes it easier to spot what is missing before launch week gets tight.
A simple planning template can be enough:
- Define the product type
- List the key shopper questions for that category
- Assign each PDP frame a job
- Decide which frames require photography and which can be created or extended from existing assets
- Review the gallery as a sequence, not as individual images
That shift alone makes catalog production more consistent.
The takeaway
A better PDP gallery is not usually about adding more content. It is about making the content work in the right order.
When each frame has a clear job, shoppers understand the garment faster, merchandising gets sharper, and creative production becomes easier to scale. That is true whether you are shooting everything traditionally or using AI to fill the gaps more intelligently.
Try this on your next launch
If your current PDPs feel visually busy but still leave shoppers with questions, map the gallery by job instead of by habit. And if you are missing key frames, use Unstill to turn flat-lays, mannequin shots, or existing stills into a more complete and consistent fashion image sequence.